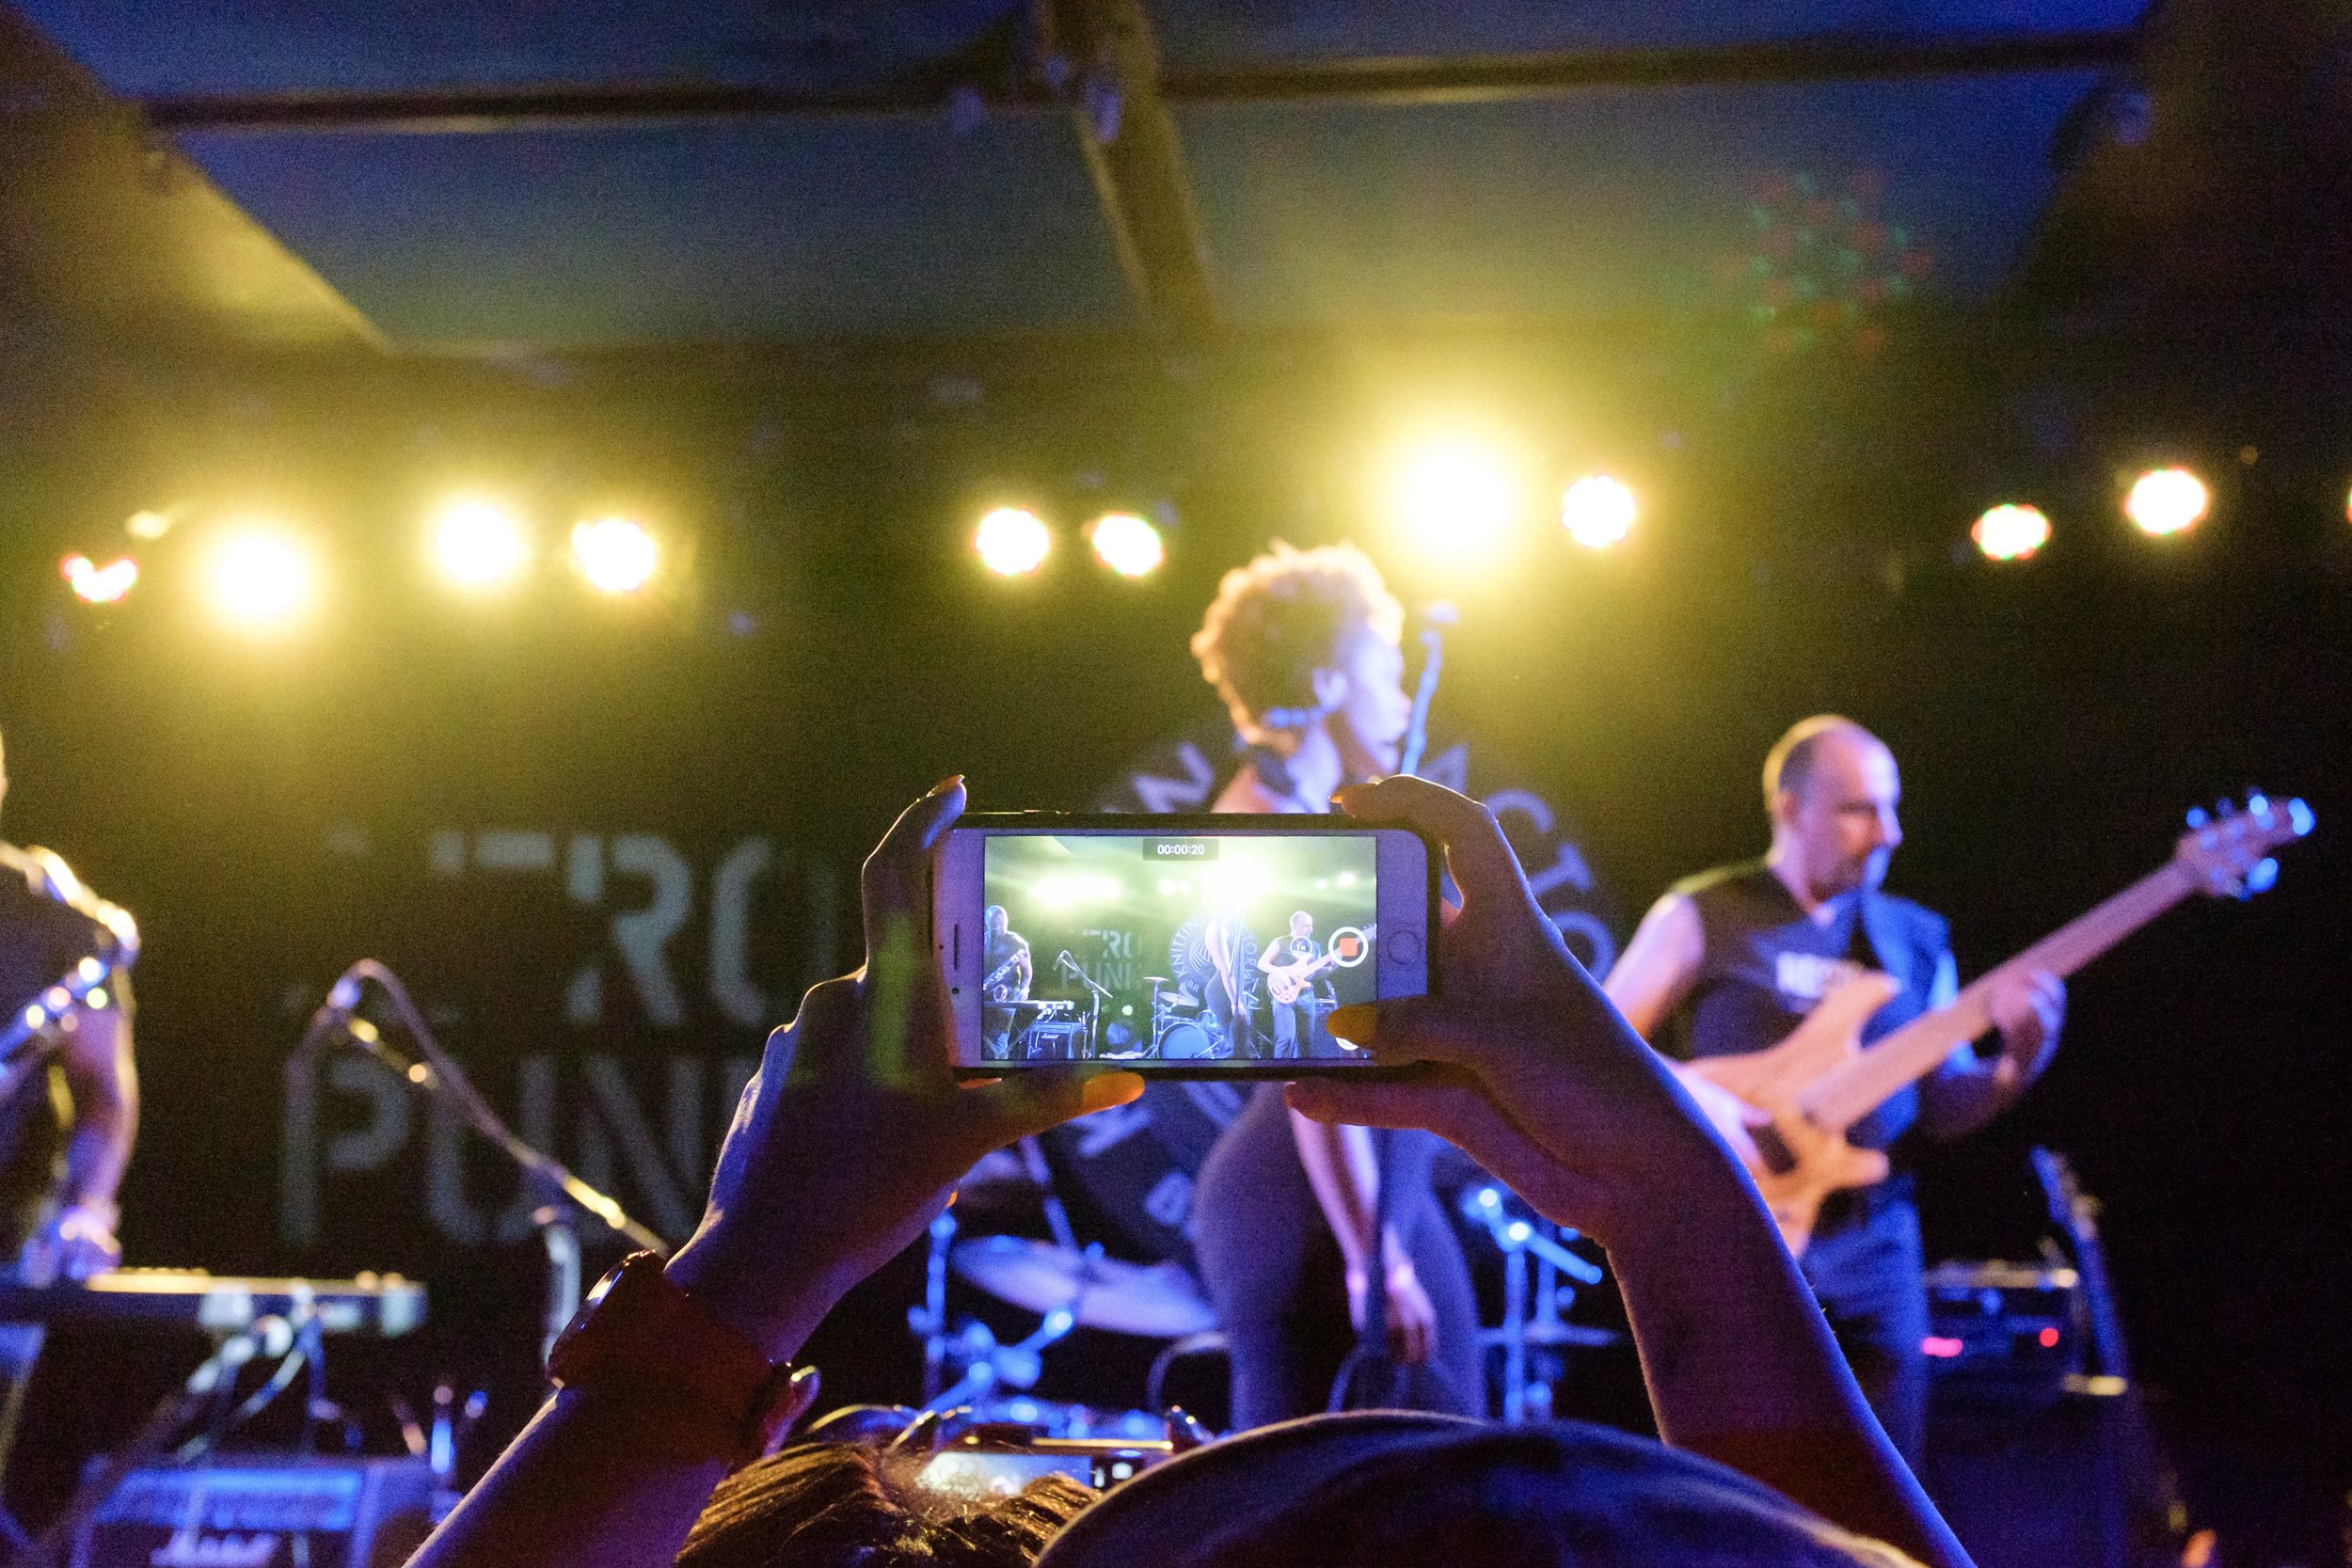
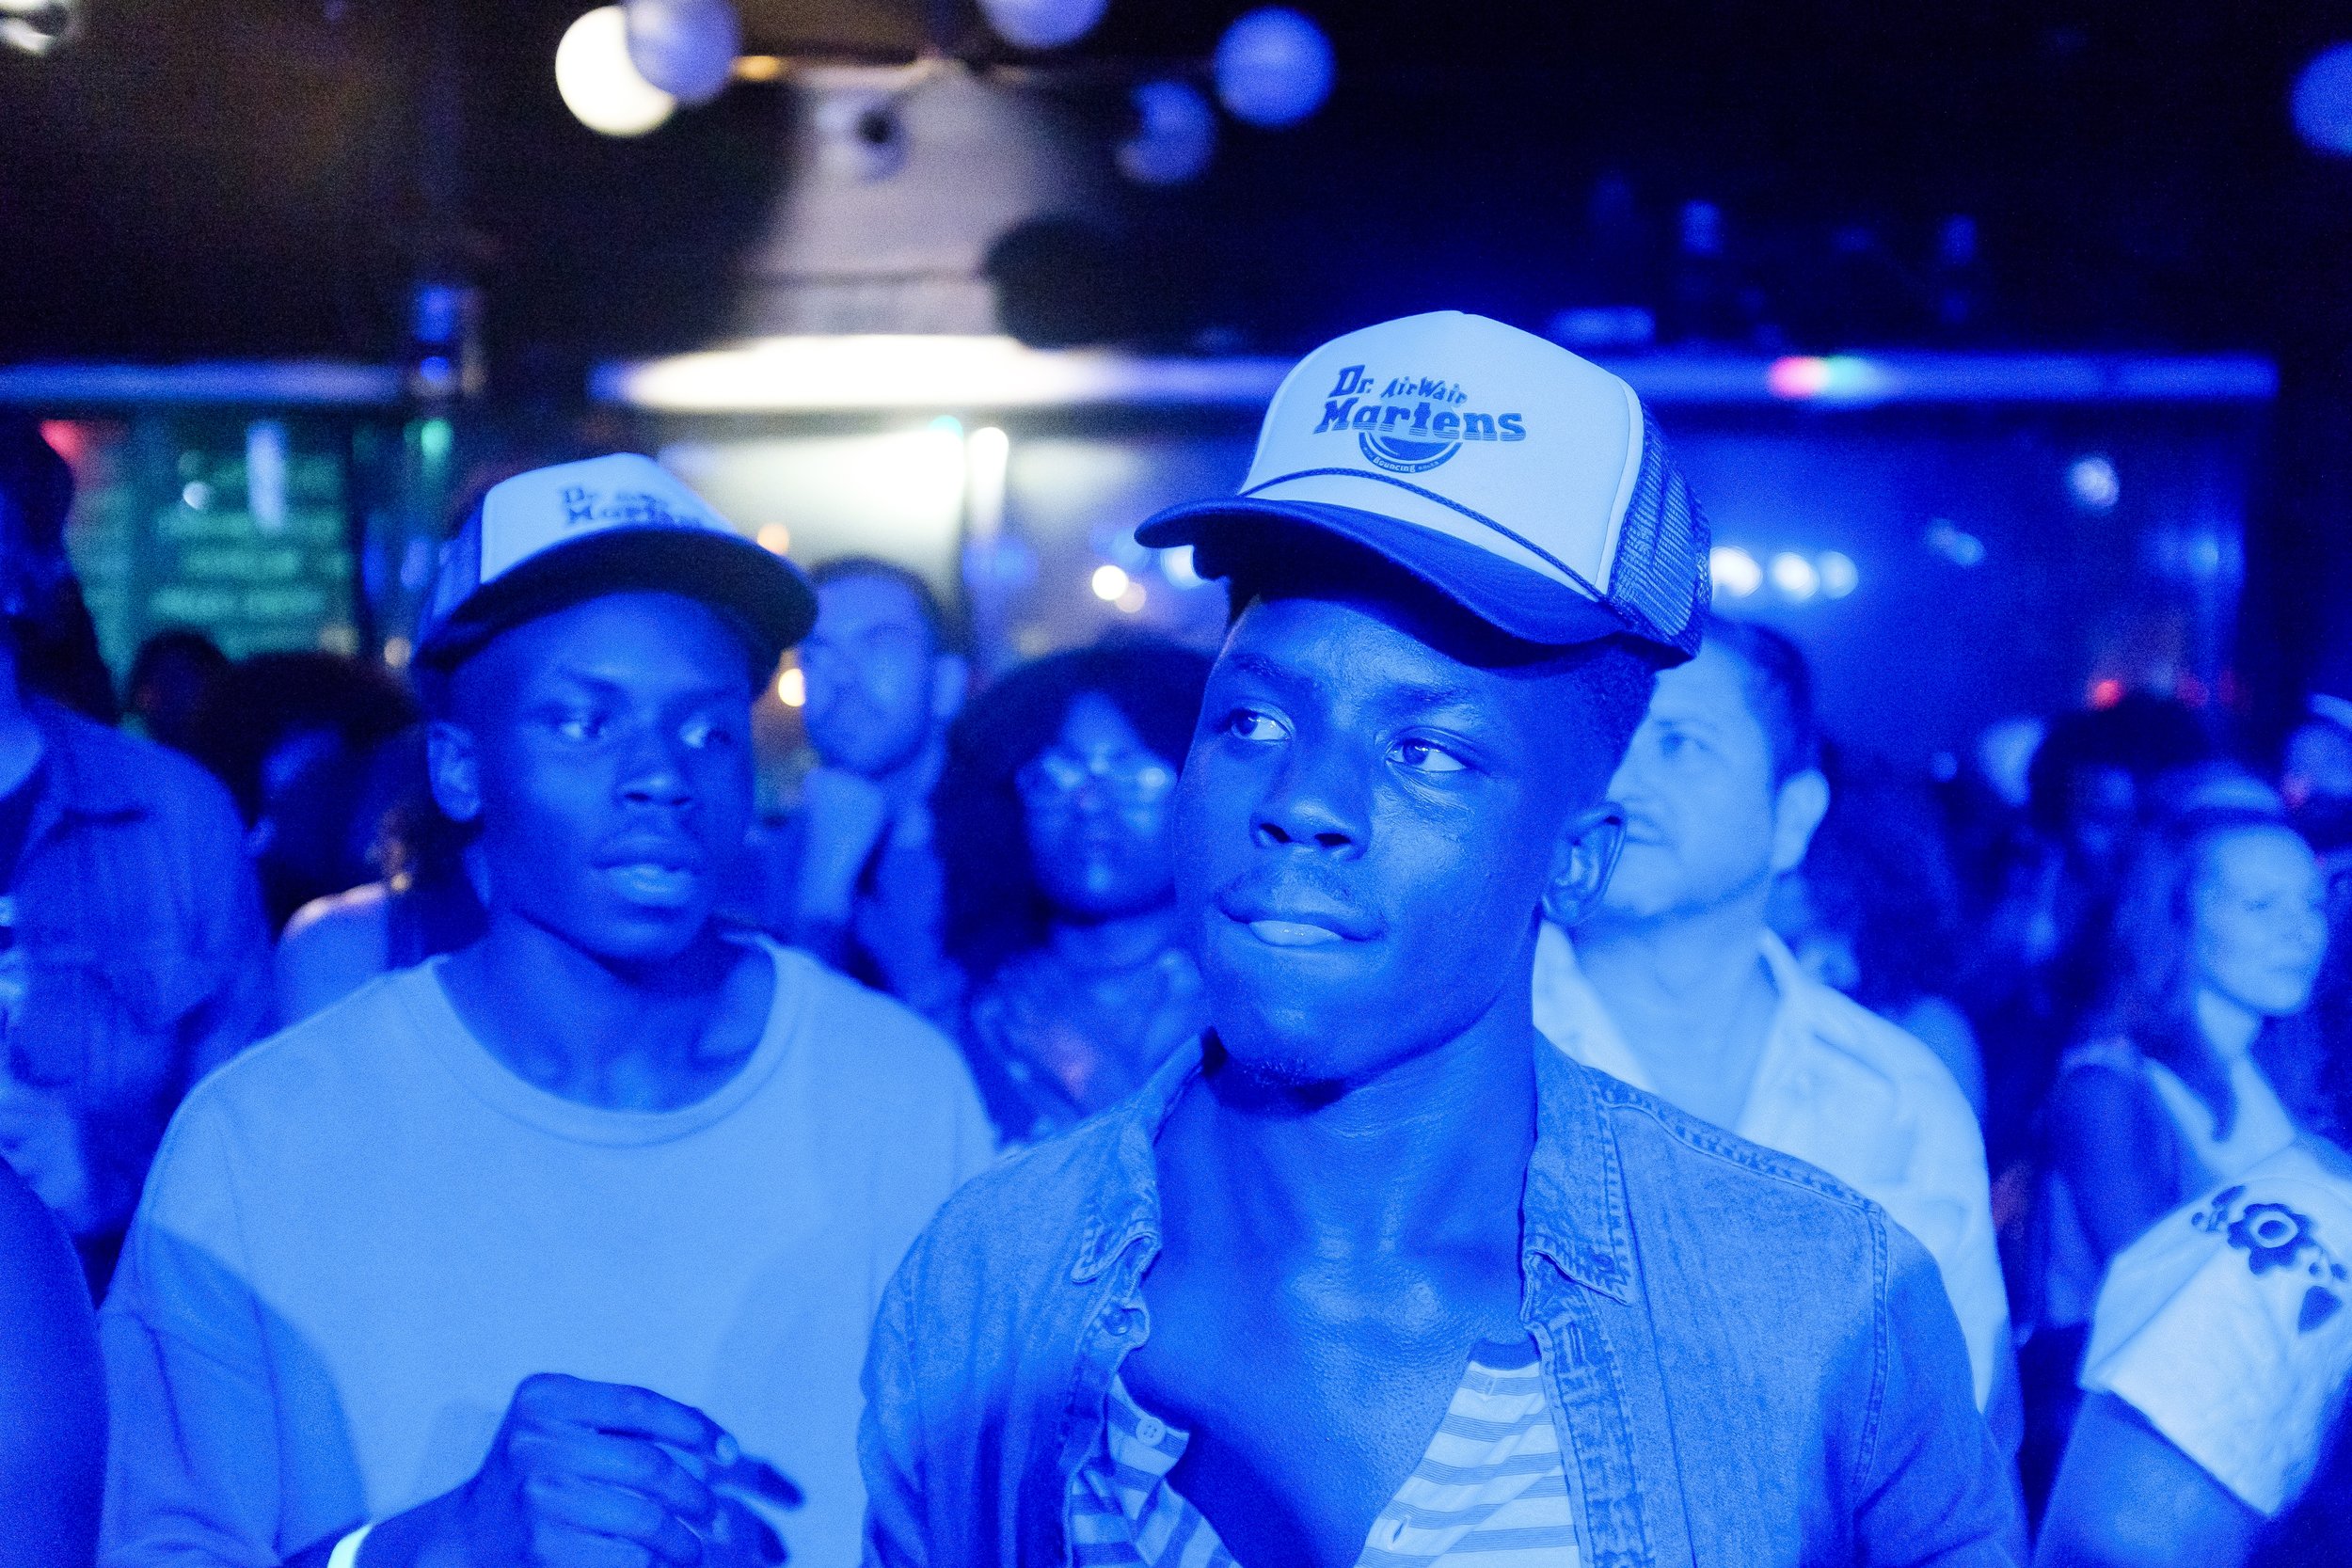
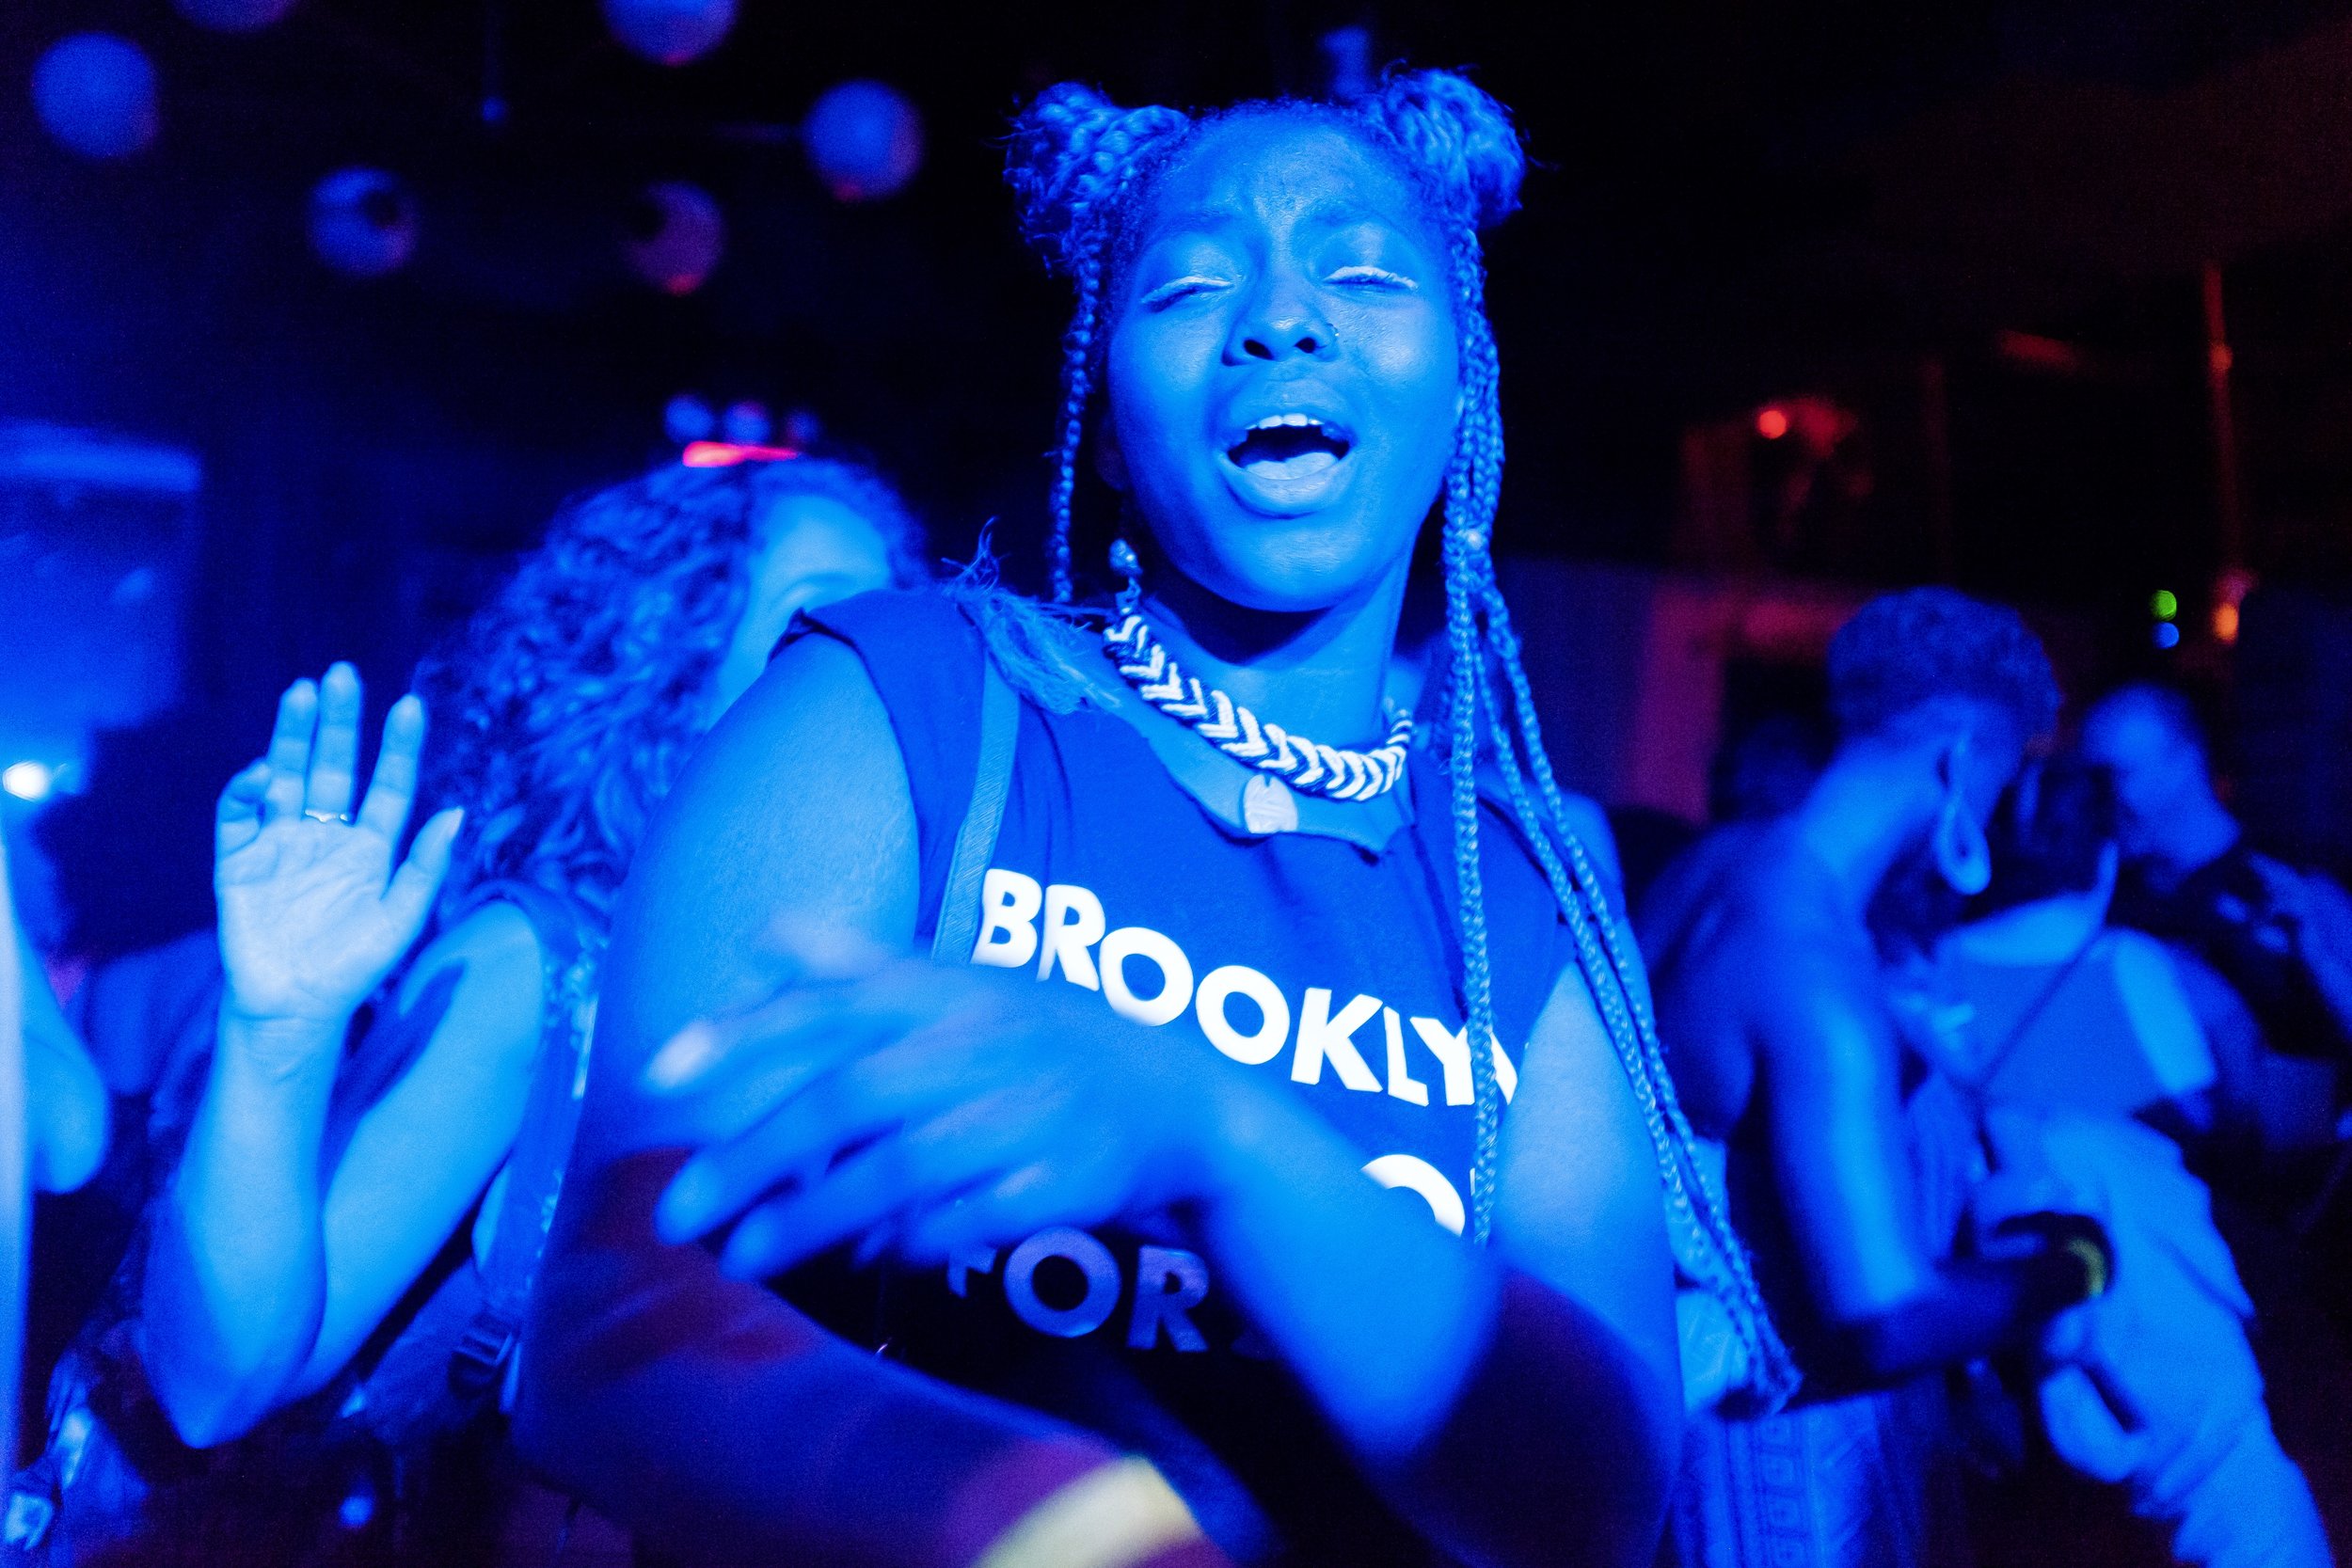
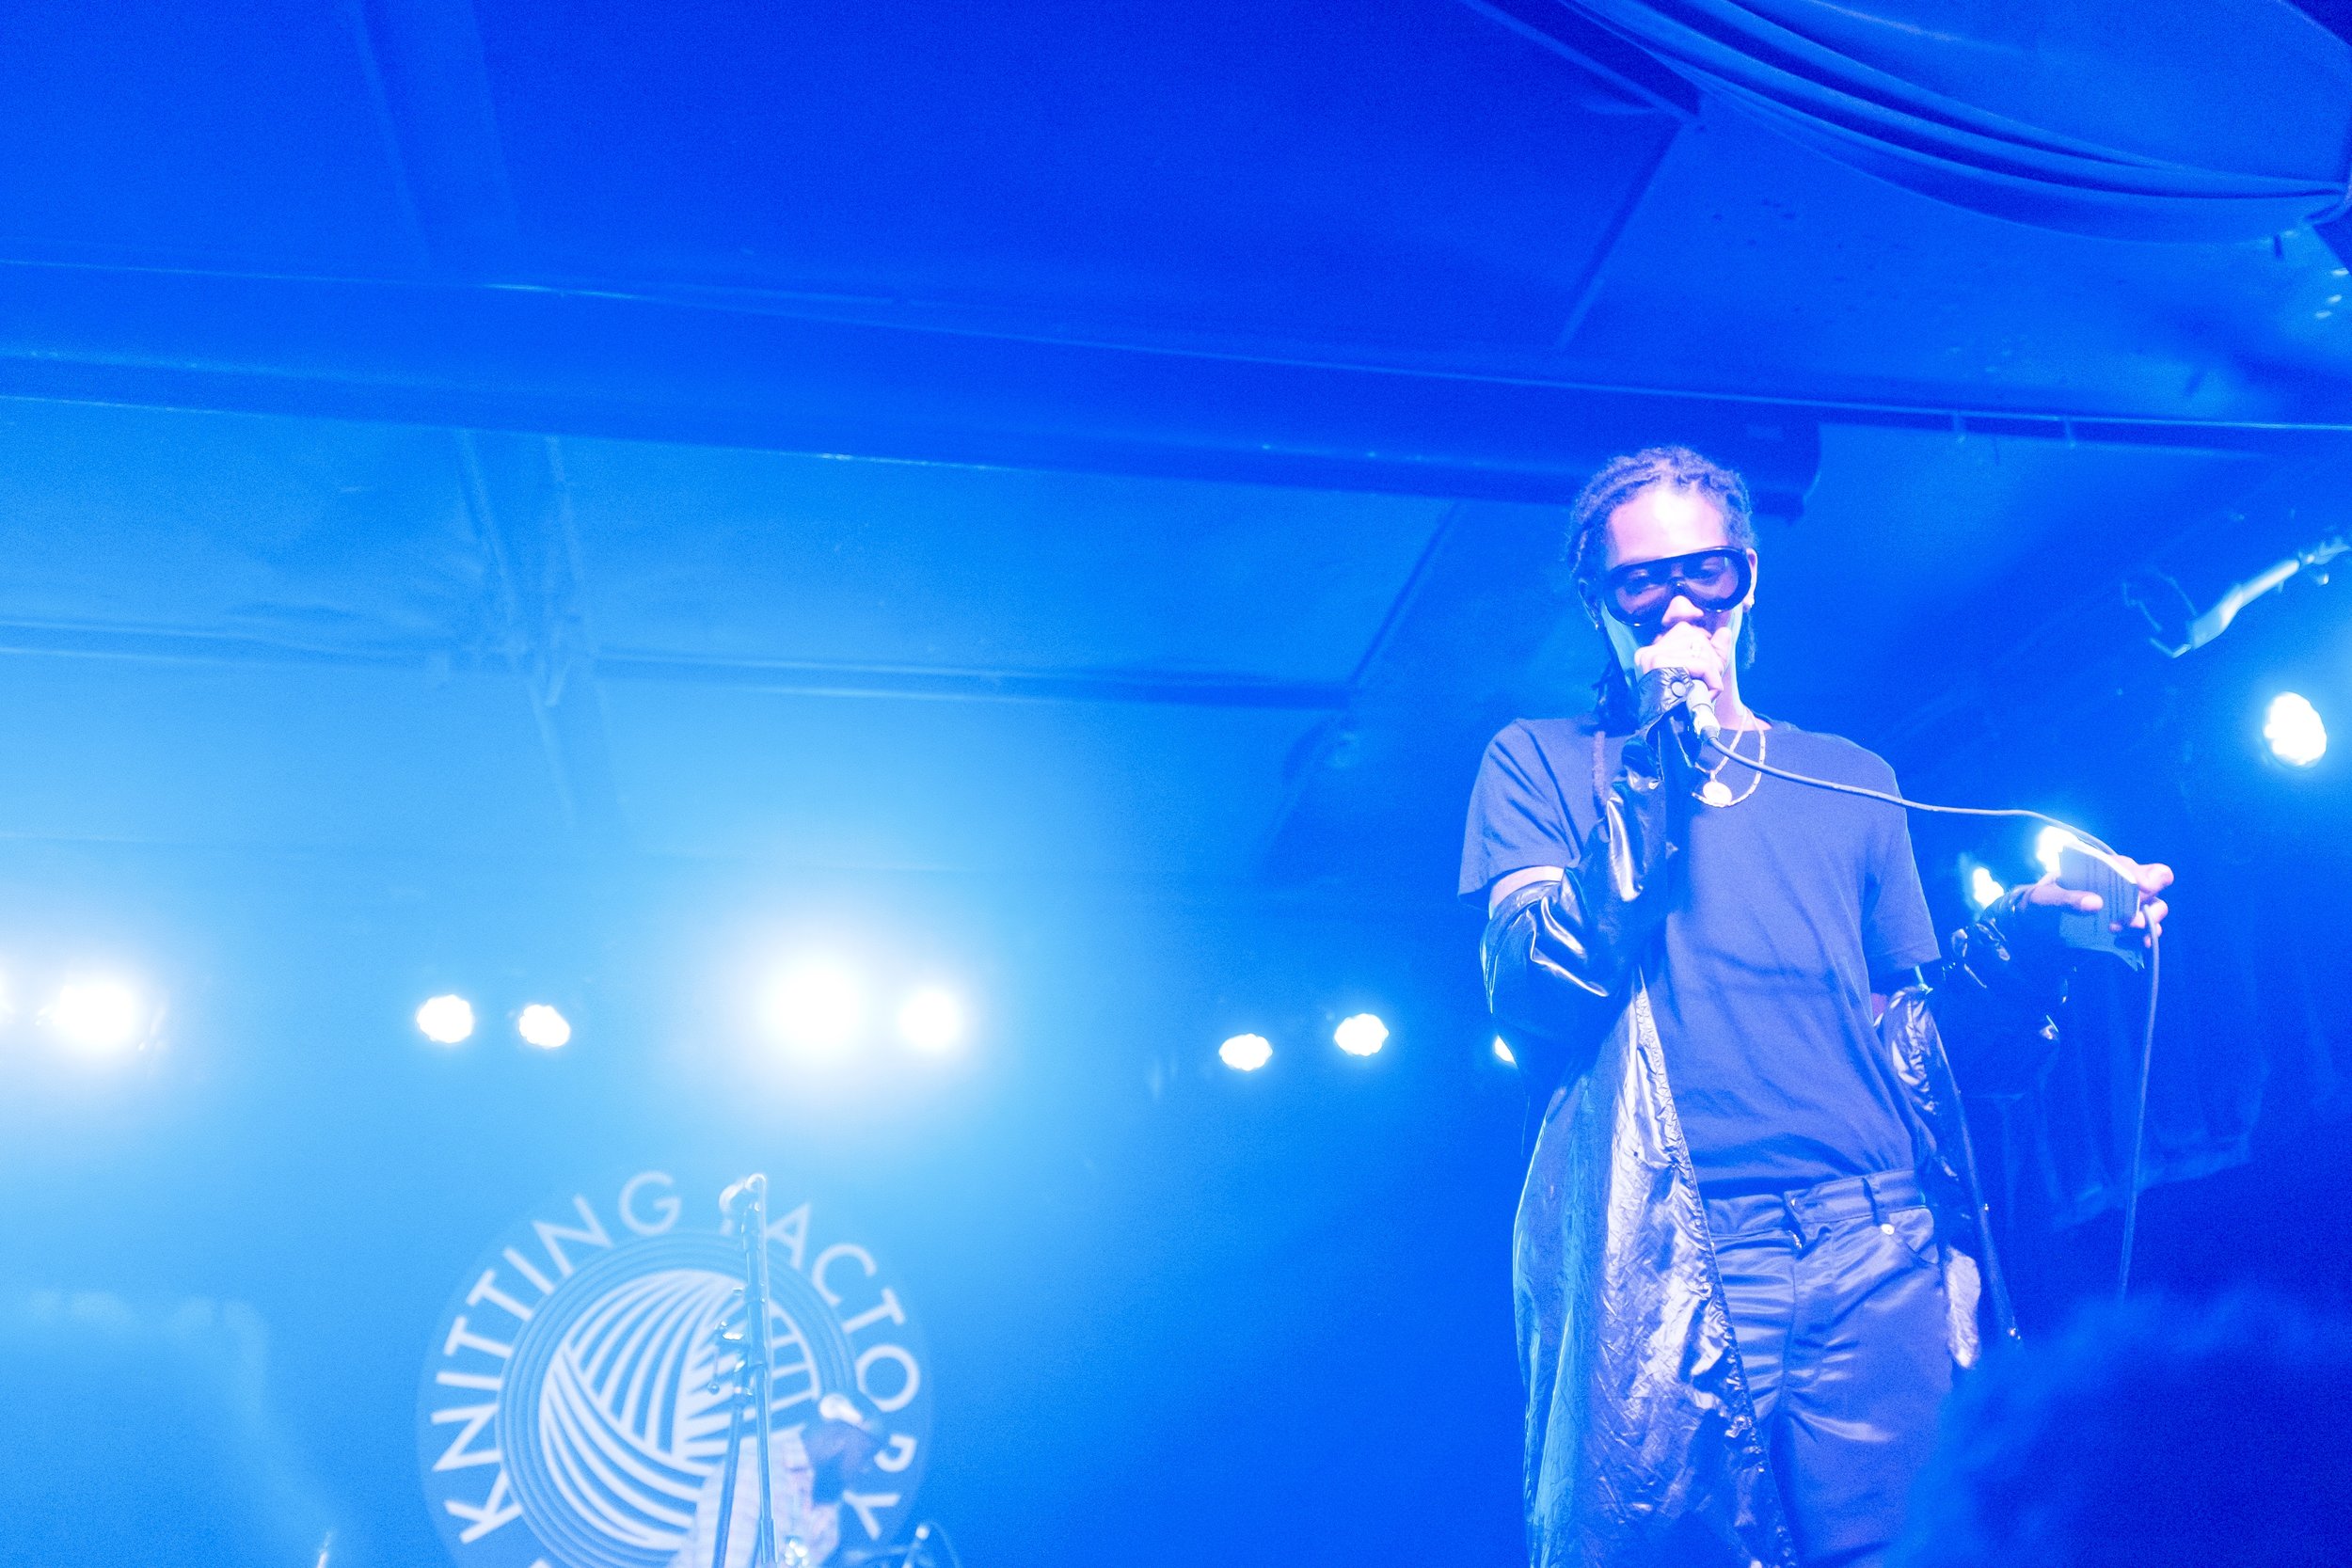
I had an awesome time at the Afropunk Battle of the Bands at the Knitting Factory the other night. All of the performances were incredible and dynamic (of course I think my friend Gbenga's band, Olu Bliss should have won, but I’m biased like that).
Anyway, it was a fun opportunity for me to indulge in a little bit of concert photography in an intimate, low-pressure setting. I got some great images, and I thought I’d use this as an excuse to write a bit about how I use Lightroom Mobile to begin processing a shoot like this on the go.
Lightroom Mobile is Adobe’s free mobile companion to the desktop version of the software. It has a ton of powerful editing features, and If you’re a Creative Cloud subscriber, it syncs back to the desktop, so you can continue editing on the big screen when you’re back at your computer. There are a lot of plusses about this workflow, but there’s also at least one significant downside, which I’ll get into later. With that said, let's get into it.
Import and Review
The show was in Williamsburg, which meant that I had time during the longish subway ride home to download my photos to my iPhone, using the handy SD to Lightning adapter that’s usually in my bag. I popped the card in the reader, connected it to the Lightning port, and opened the Photos app, (which is the only way to get images off an SD card onto your phone). Next, I tapped Import, then Import All. Boom - done.

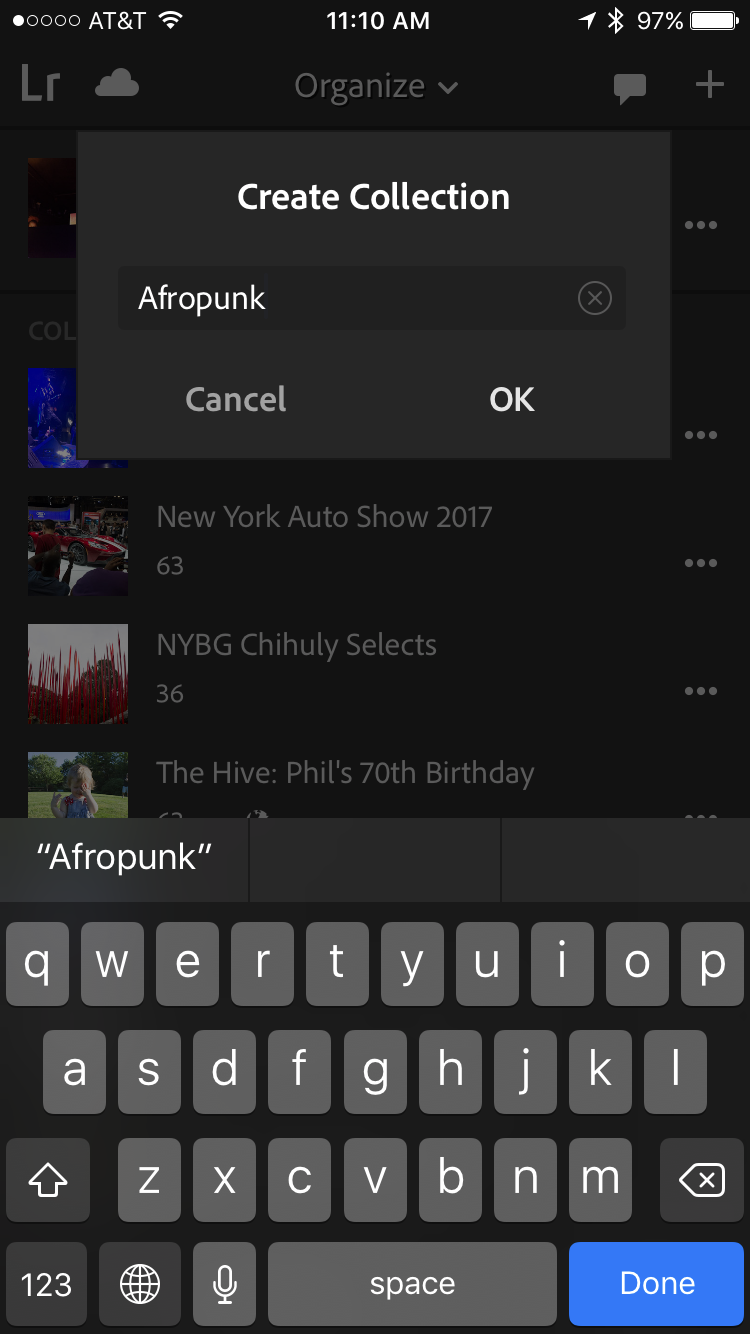
Once the images were downloaded from the card (it took a while; I entertained myself by people-watching on the train), my next step was to open up LR Mobile and create a collection to hold the images from the event.

Now that I had those images in Lightroom on my phone, I was able to easily swipe through and do a quick review of my shots from the event, adding “Pick” flags to the shots I liked the most, and then filtering the view to focus on just those flagged images. Just as I was finishing up, I got to my stop. Nice.


One of the major advantages to a workflow like this is that I can now easily share a couple of my favorites from my fancy mirrorless camera (with its big sensor and great low-light performance that few mobile phones can match - I'm sorry, but them's the facts) on social media in a very immediate way. And since I’ve already done some initial rating/triaging of images, when I get back to the desktop, a big chunk of the work is already done. I can then spend a little more time and process the rest of the images from the shoot more carefully. Plus, it's a great way to kill time while traveling. Sweet!
The Caveat: Color Profiles
Okay, so this part is gonna get a little technical, but I feel like I have to talk about it. We all know that RAW images are great, because they give you more control over how you expose the highlights and shadows of your image. Lightroom has a default recipe called Adobe Standard that it uses to apply specific color, hue, saturation, etc. to every RAW file you import. On the Desktop, you can choose from a range of built-in profiles; you can even go as far as to set a specific RAW profile to be applied on a per-camera basis, but this option isn’t available in LR Mobile.
Okay. Stay with me; I realize that I'm off on a tangent here. The preview image you see on the back of your camera when you’re shooting is generated by a built-in, secret-sauce profile that your camera automatically embeds in the RAW files it saves. Why this matters, is because I’ve noticed that sometimes when I import images into LR Mobile, the second I start tweaking sliders and making adjustments, LR’s default profile (Adobe Standard, remember?) gets applied, and suddenly my image looks dramatically different than it did a second ago. Whaaaaat!?
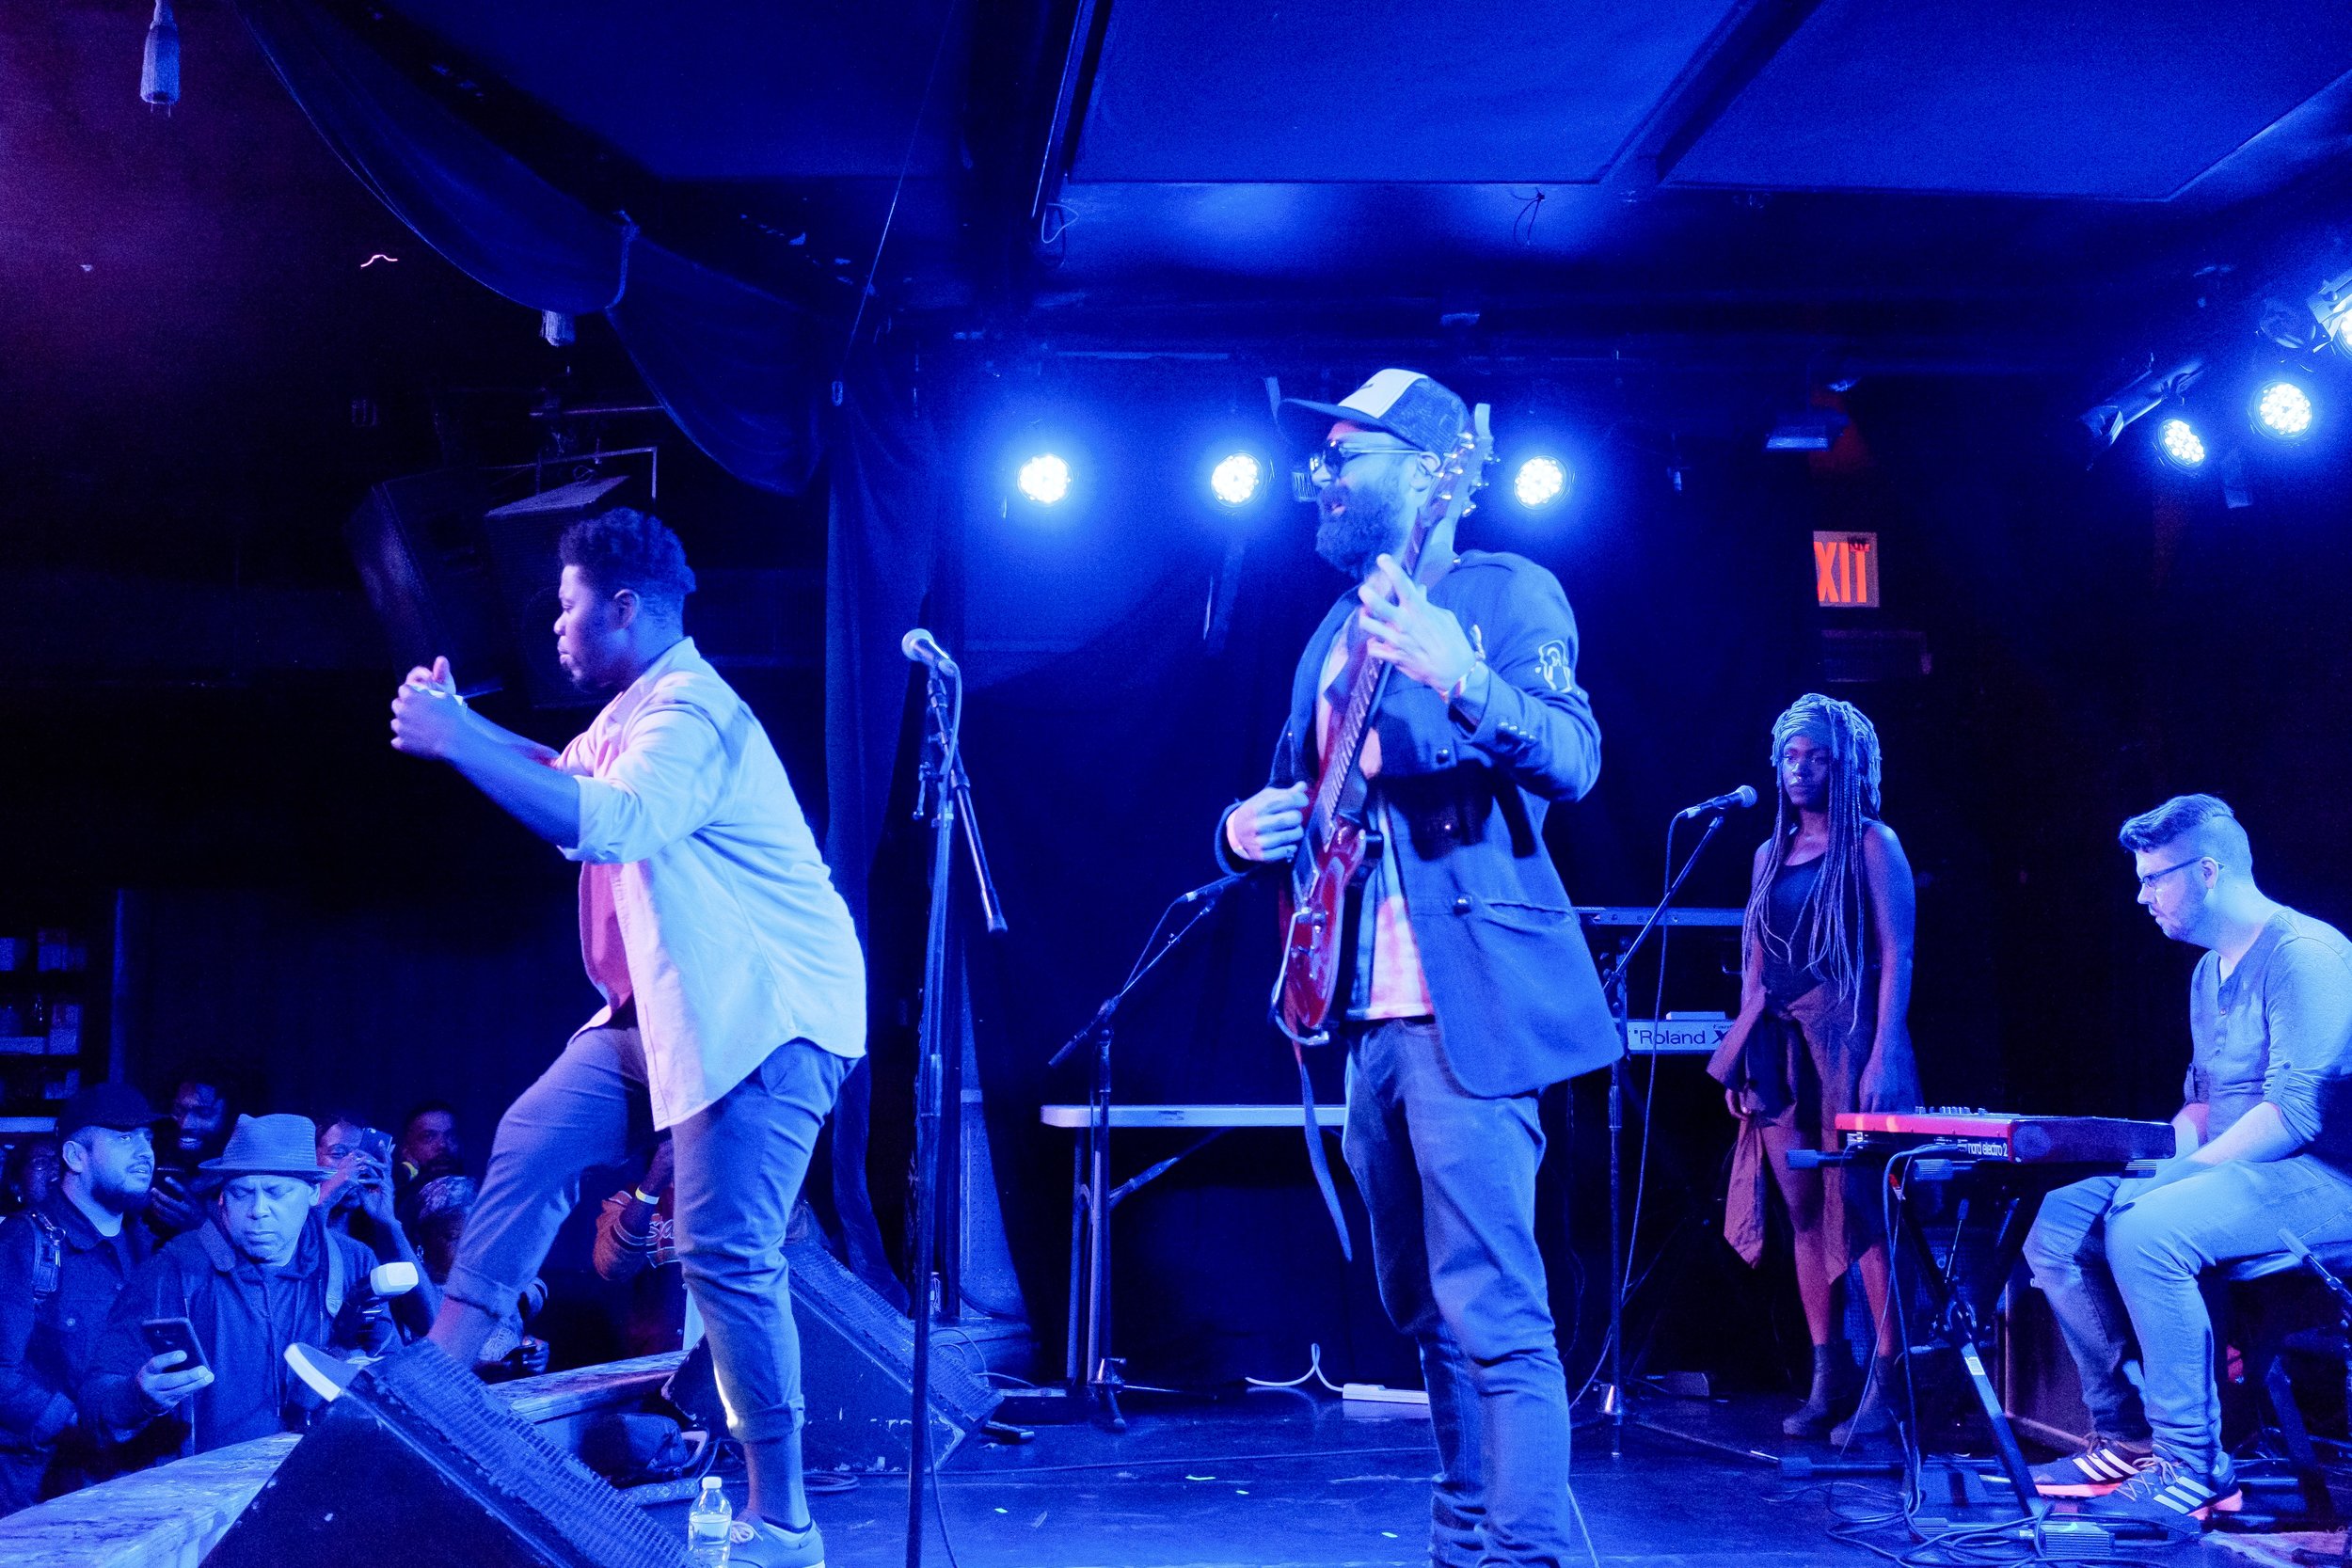
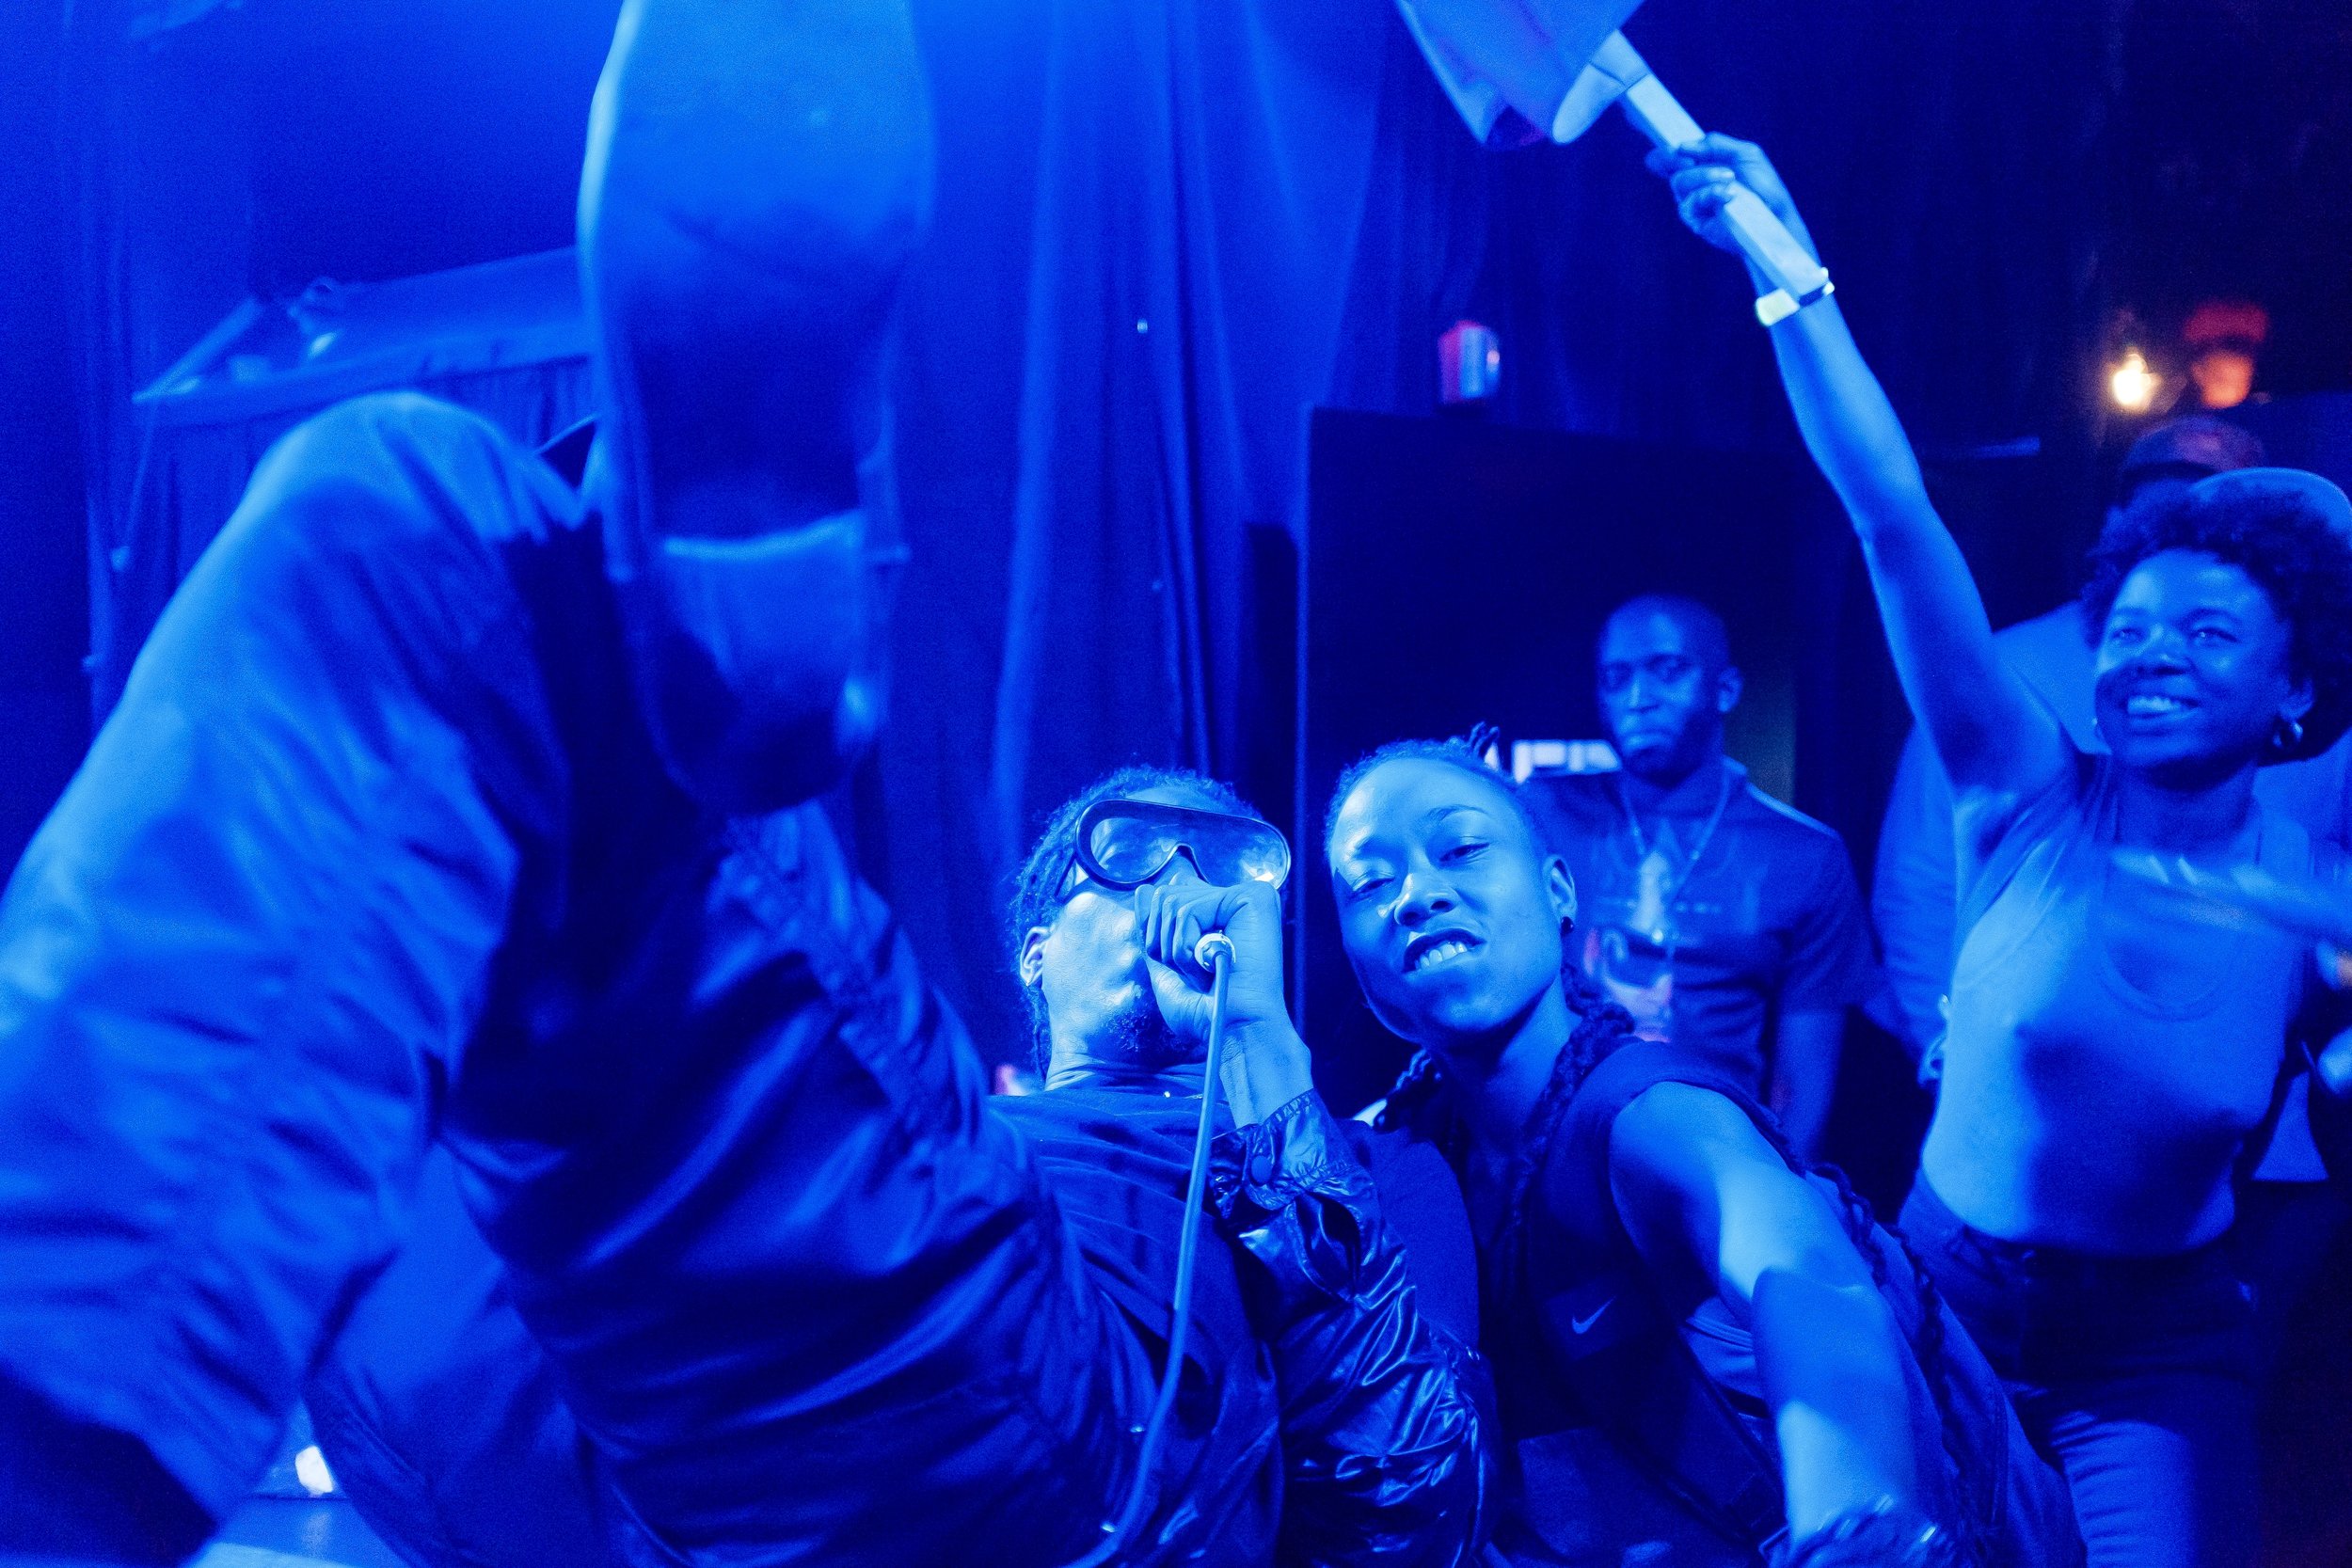
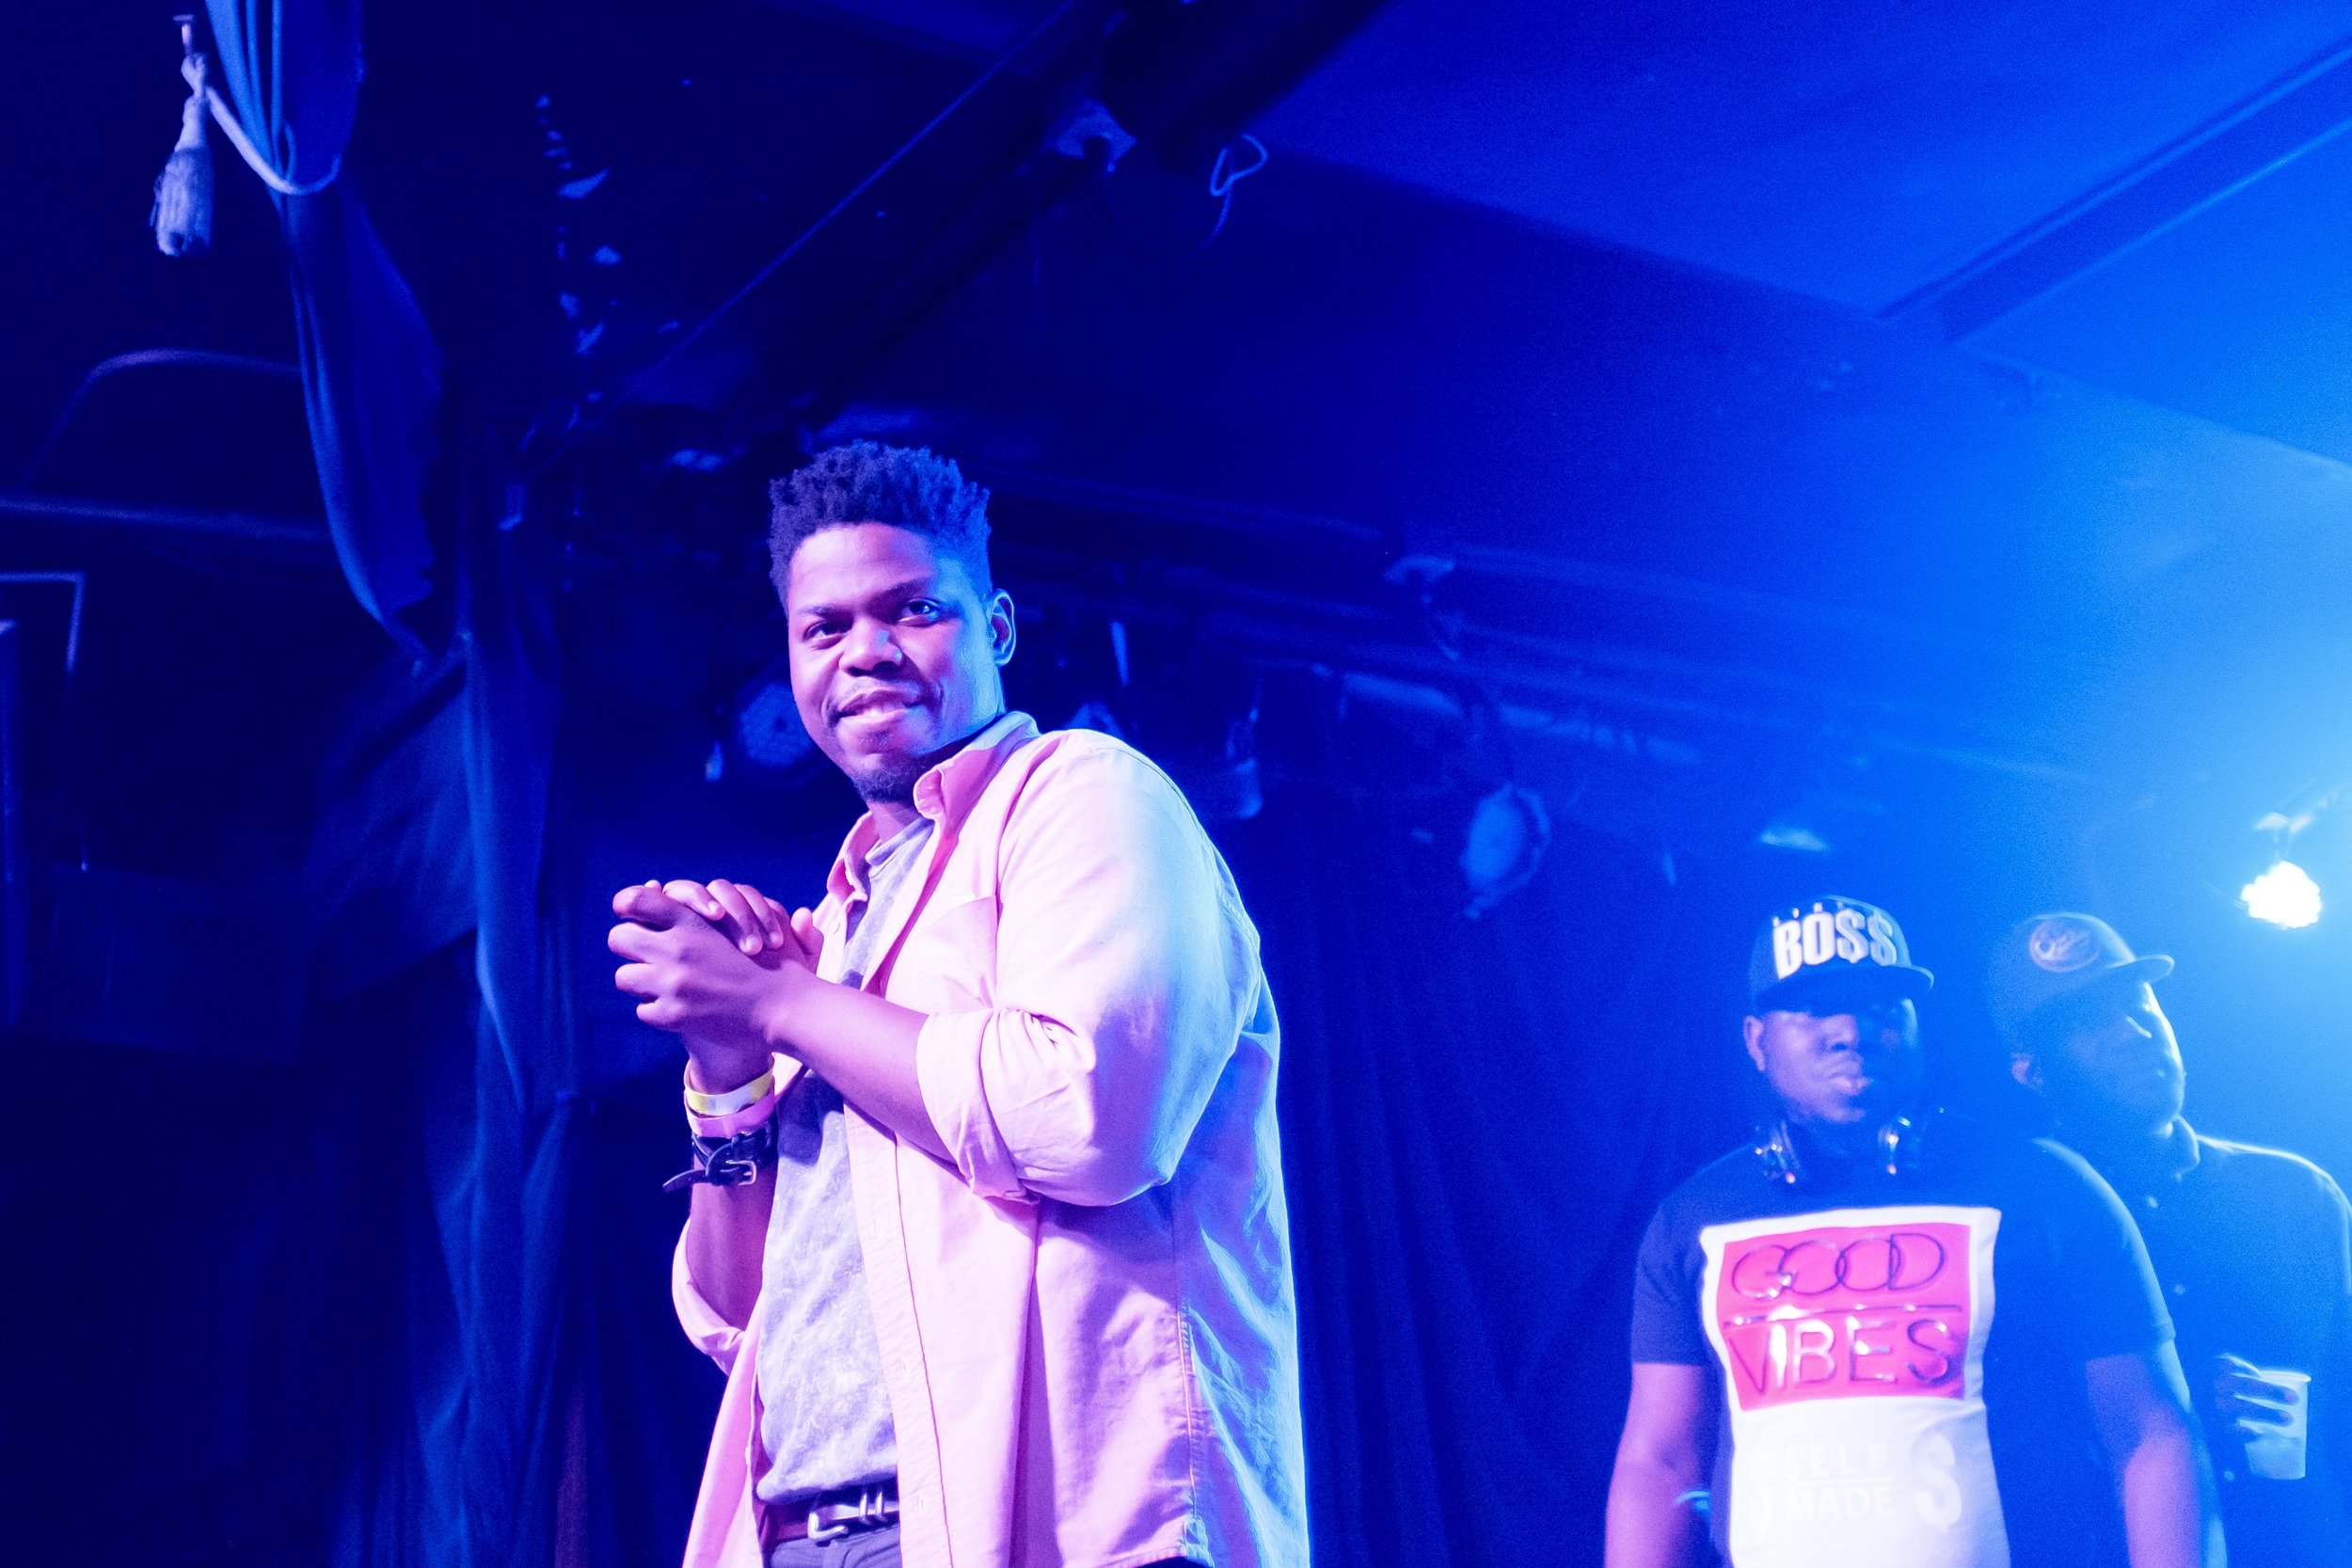
Note the solarization, aka distorted colors, in the performer's face. It looks kinda cool, but that's not what the scene looked like when I shot it.
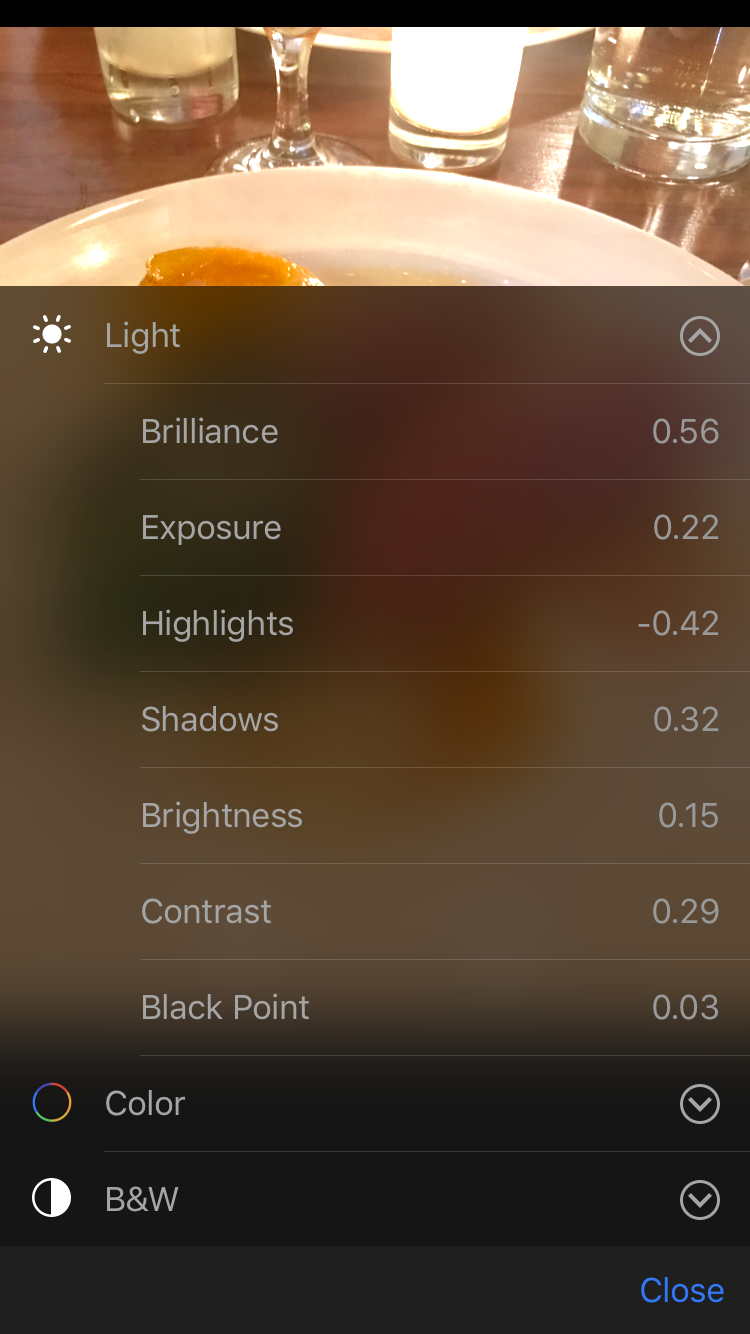
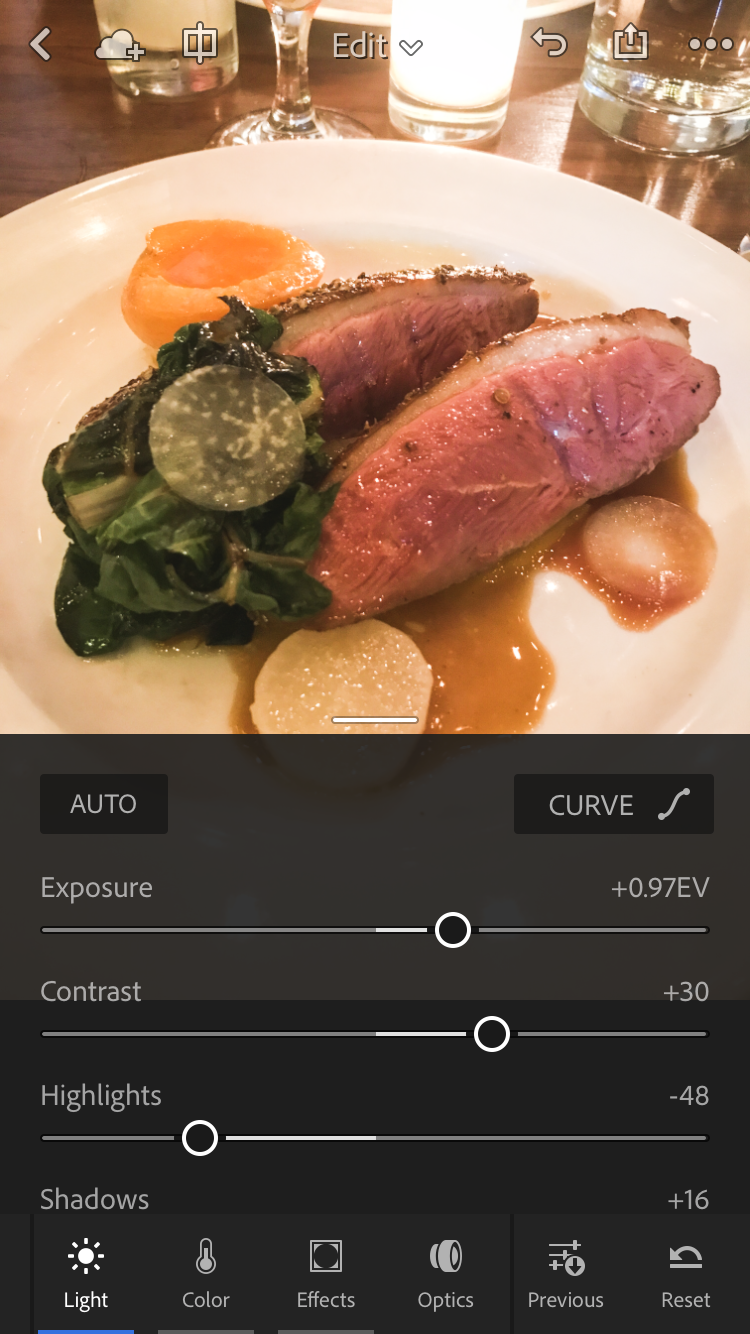
This happens to me especially with low-light images, with funky lighting—aka concert lighting. As far as I know, the only way to fix it, is to hop over to the desktop version of Lightroom and apply a profile other than Adobe Standard to your images. In the Develop module, scroll down to the Camera Calibration panel and choose something other than Adobe Standard. If I’m using my Fuji X100S (as I was the other night), I usually choose PROVIA/STANDARD, because I believe it’s similar to the internal profile Fuji cameras apply, so it should bring it back to something close to what that original preview image looked like. Phew.

Lightroom's built-in camera profiles.
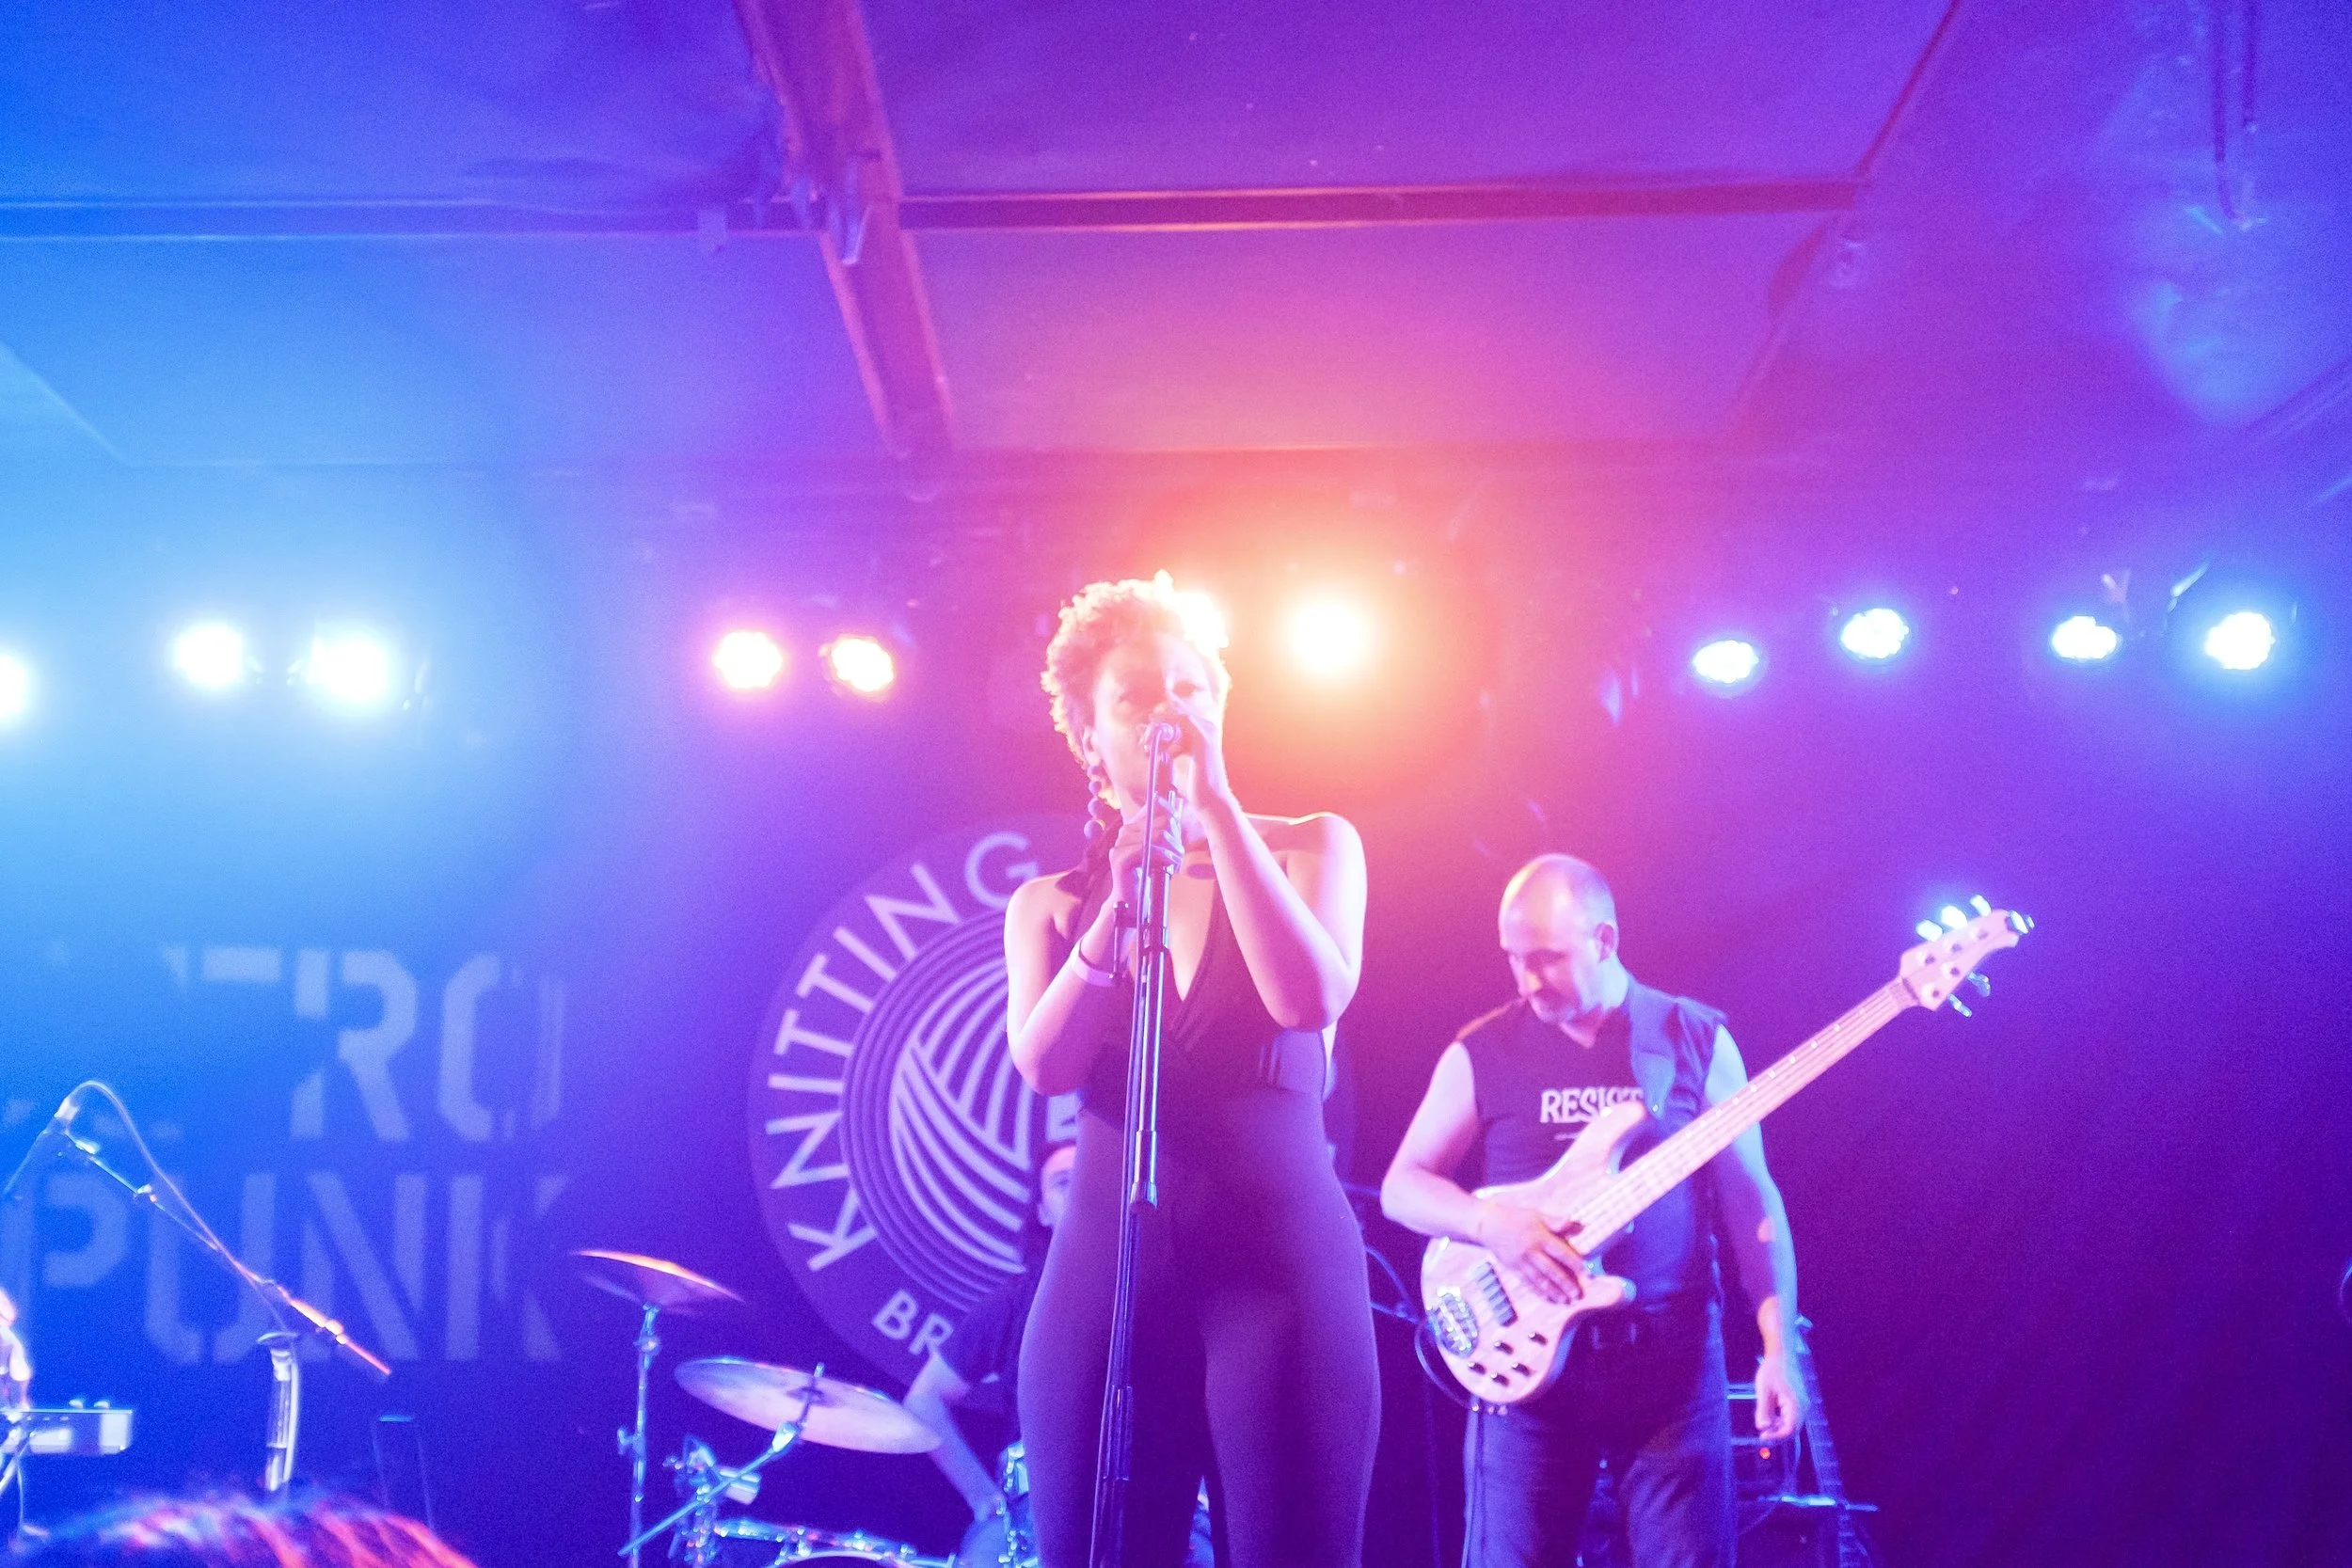
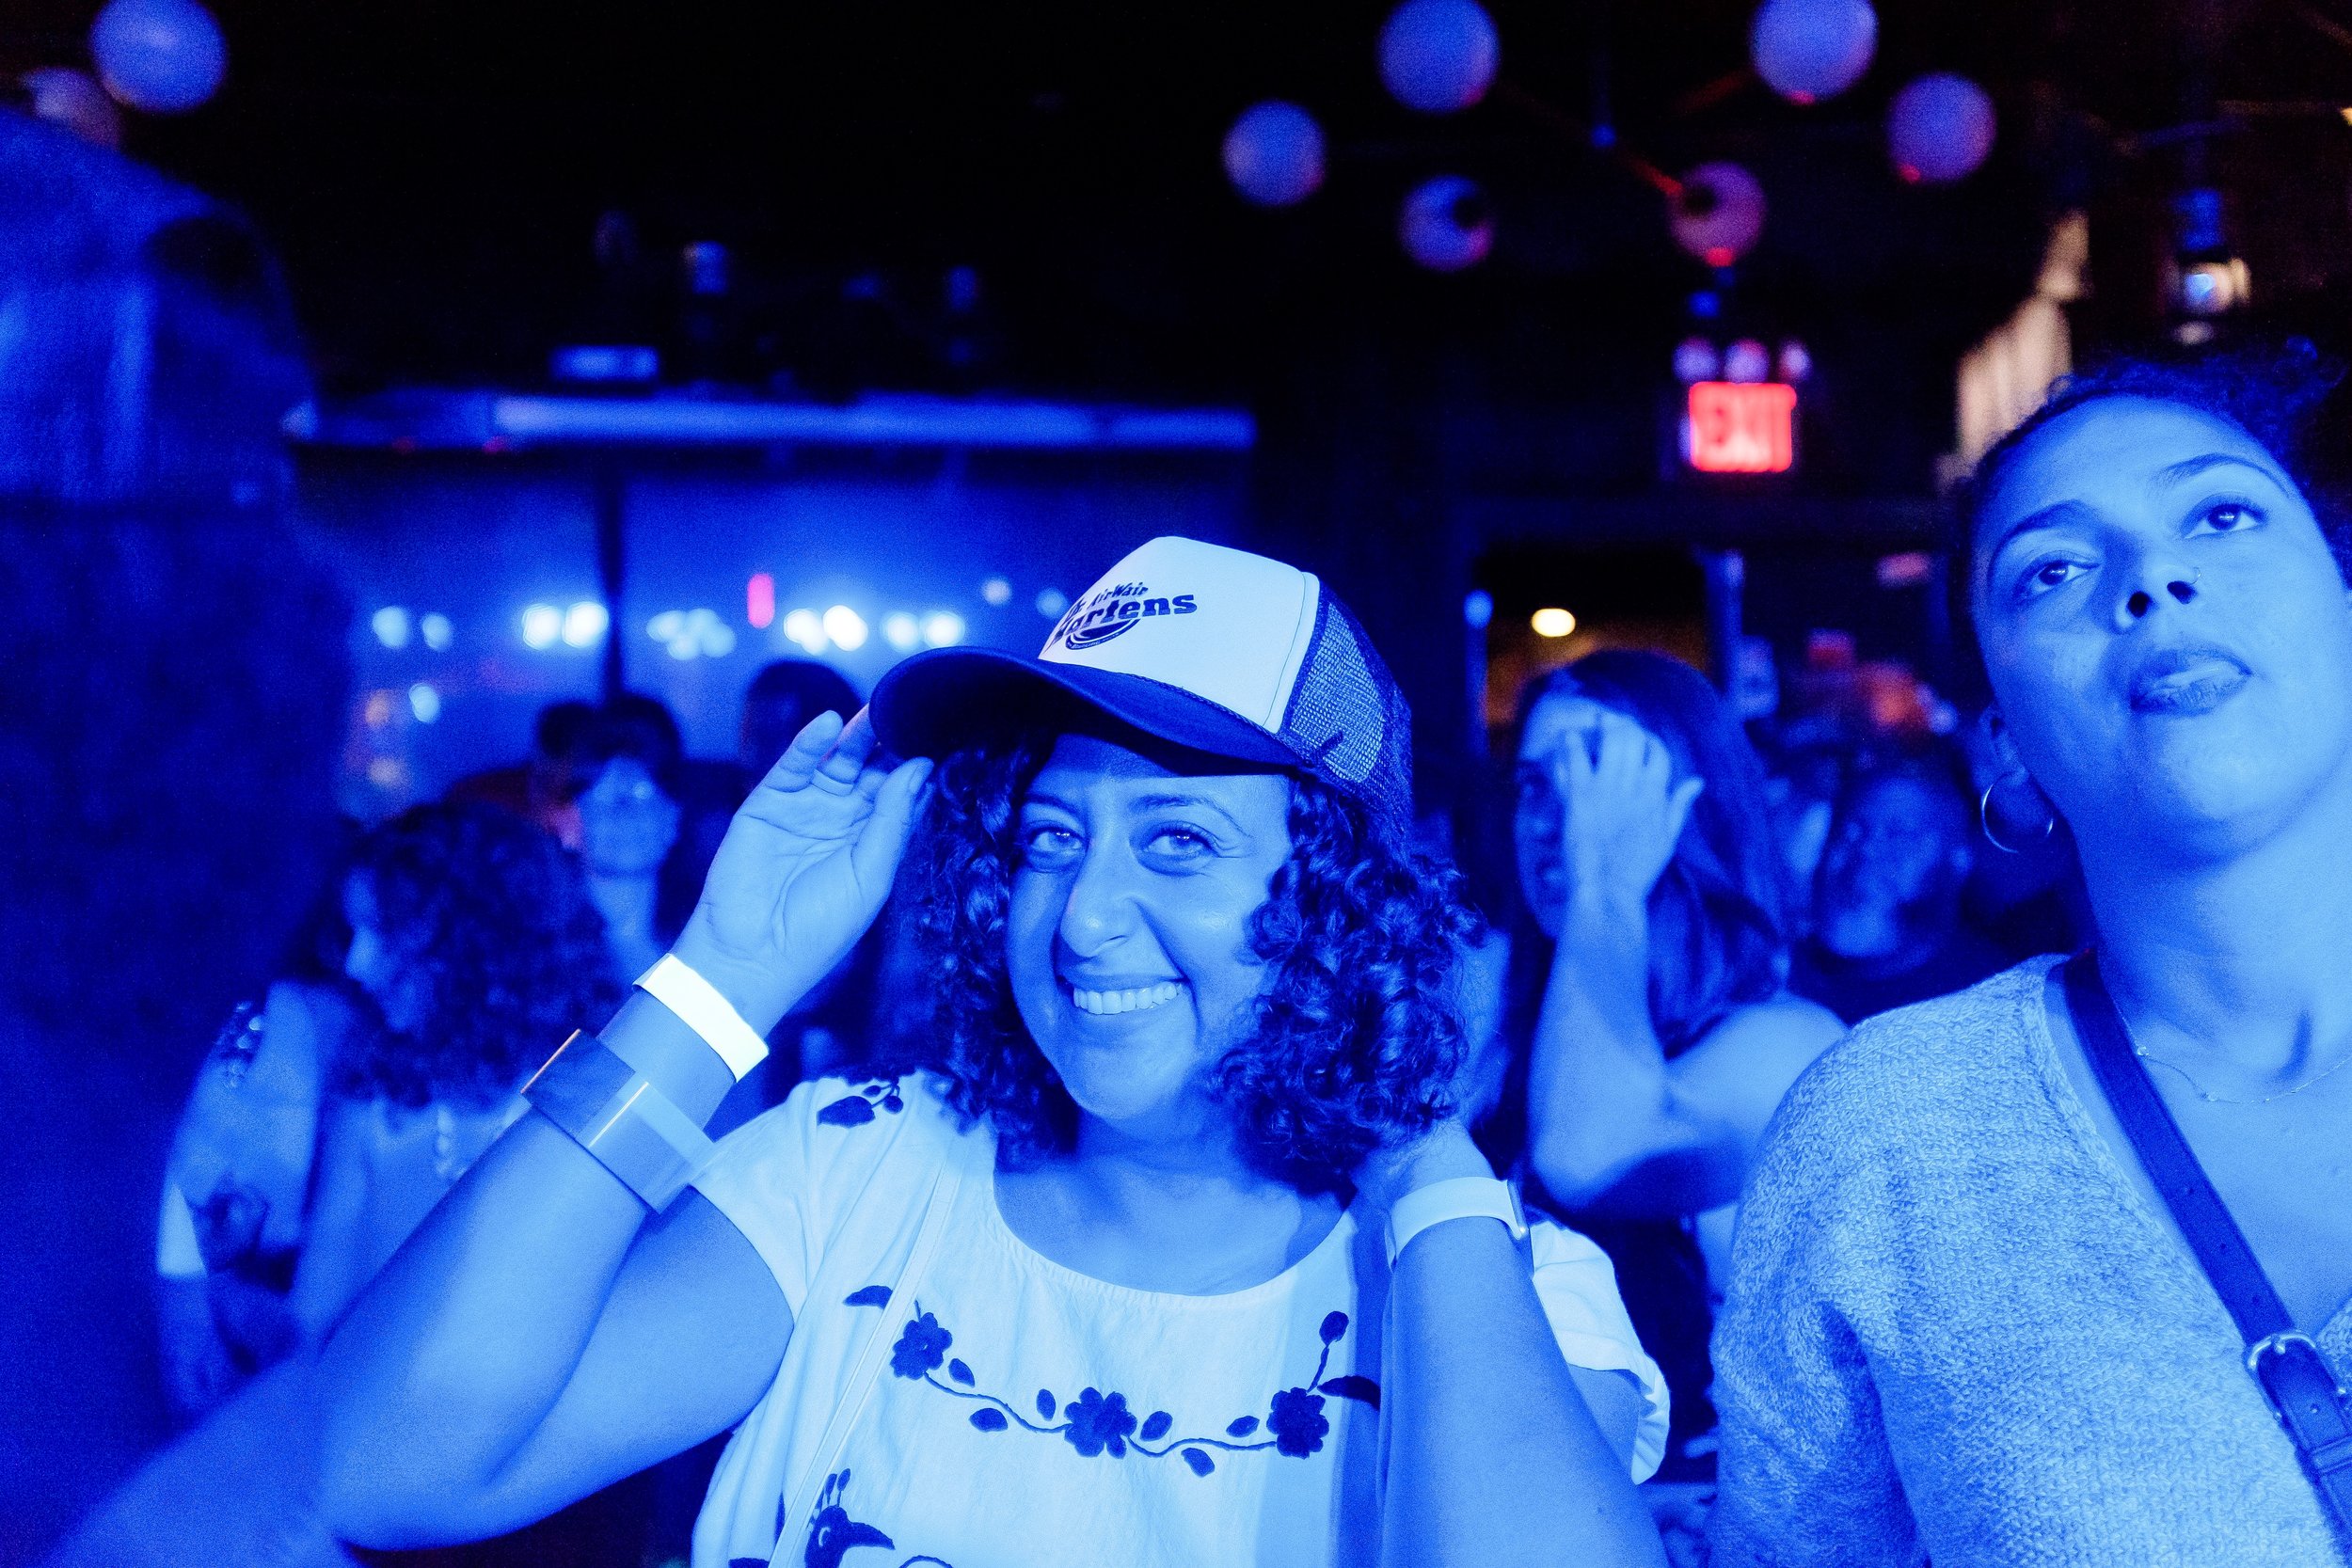
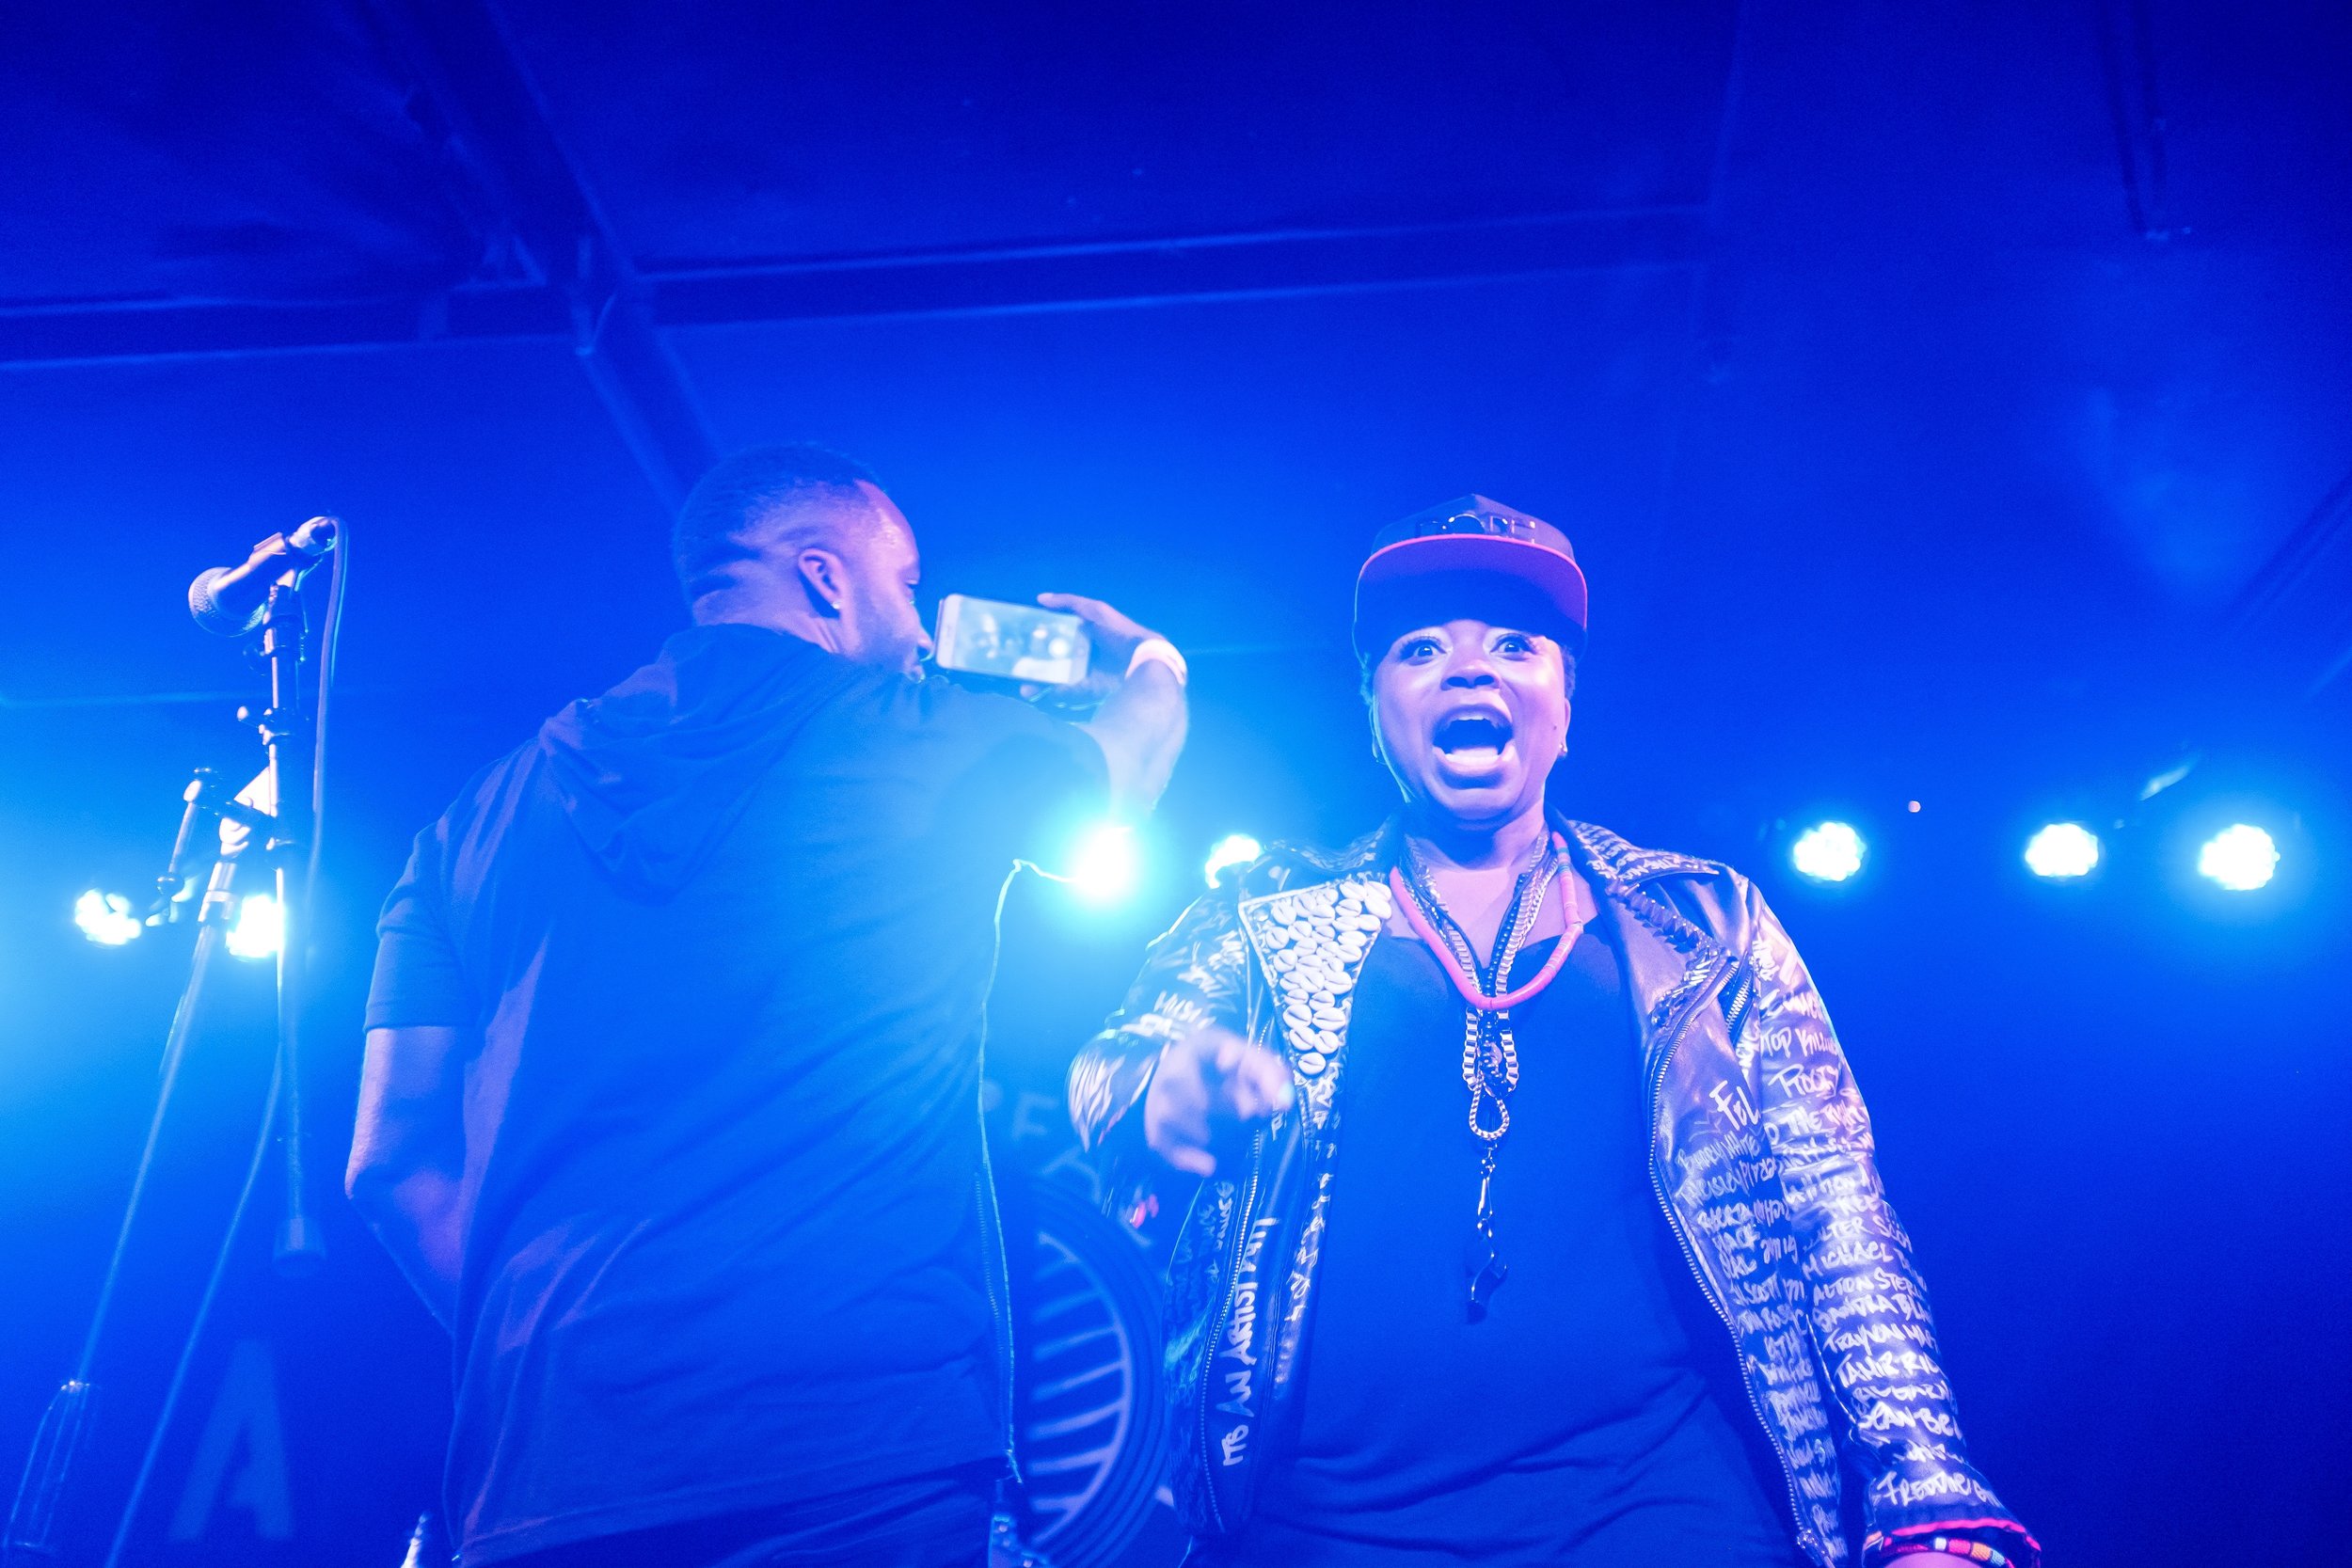
Oh look - no more solarization!
The good news is, this change in profile syncs back to LR Mobile, so you can continue editing there if you like. I know it makes for a clunky workflow, but judging from the complaints on Adobe’s forums, this seems to be a known issue. I really hope they figure out a way to fix it in a future version of the app.
Wrap it Up
Okay, this turned out to be a lengthy, tech-heavy post, and it has quite a large caveat, so take that into consideration. But I can definitely recommend this workflow as a way to get a jump-start on importing and triaging images while on the go. And it's a great way to quickly share some favorite shots on social networks - as long as they don’t need to have a different color profile applied (which you can only do on the desktop).